Connect Active Directory to Secure Access
The Cisco Active Directory (AD) Connector integrates Cisco Secure Access with your instance of Microsoft Active Directory (AD). Before you can provision users, groups, and endpoint devices from AD to Secure Access, register the AD Components in the environment (domain controller or domain) to Secure Access. Then, download the Cisco AD Connector software package and install the AD Connector in the organization's environment.
This guide describes the steps to install the Cisco AD Connector for LDAP or LDAPS, and provision users and groups from your instance of Microsoft AD to Secure Access.
Table of Contents
Prerequisites
- Full Admin user role. For more information, see Manage Accounts.
- Set up the AD Connector server, user account, and environment for deploying the AD Connector. For more information, see Prerequisites for AD Connectors.
- Add the AD components in Secure Access. For more information, see Add AD Components in Secure Access.
- (Optional) Configure Authentication for AD Connectors. For more information, see Configure Authentication for AD Connectors and VAs.
- (Optional) Configure software updates on the AD Connector. For more information, see Configure Updates on AD Connectors.
Procedure
Download the software package for the Cisco AD Connector and install an AD Connector in your environment.
Step 1 – Download the Active Directory Connector
Download the Cisco AD Connector from Secure Access to your server.
Note: When you download the Cisco AD Connector software package, and if you did not configure API key credentials for the AD Connectors, Secure Access displays a warning message. We recommend that you configure API keys for your AD Connectors. For more information, see Configure Authentication for AD Connectors and VAs.
-
Configure a server to run the Cisco AD Connector, and then sign in to Secure Access on that server.
-
Navigate to Connect > Users, Groups, and Endpoint Devices, and then click Configuration management.
-
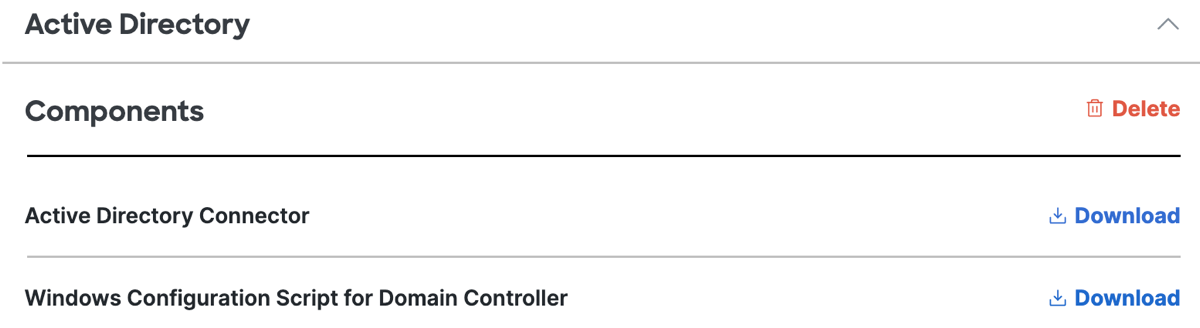
Under Directories, expand Active Directory.
-
For Active Directory Connector, click Download to save the Cisco AD connector software package to the server. The deployment package is named: CiscoAuditClient_vX.X.X.zip.
Note: You must download the ZIP file to the local machine where you plan to run it, or copy it locally from another machine. We do not recommend that you install the Cisco AD Connector from a network drive or run the setup.msi directly from the compressed file.
Step 2 - Install the Active Directory Connector
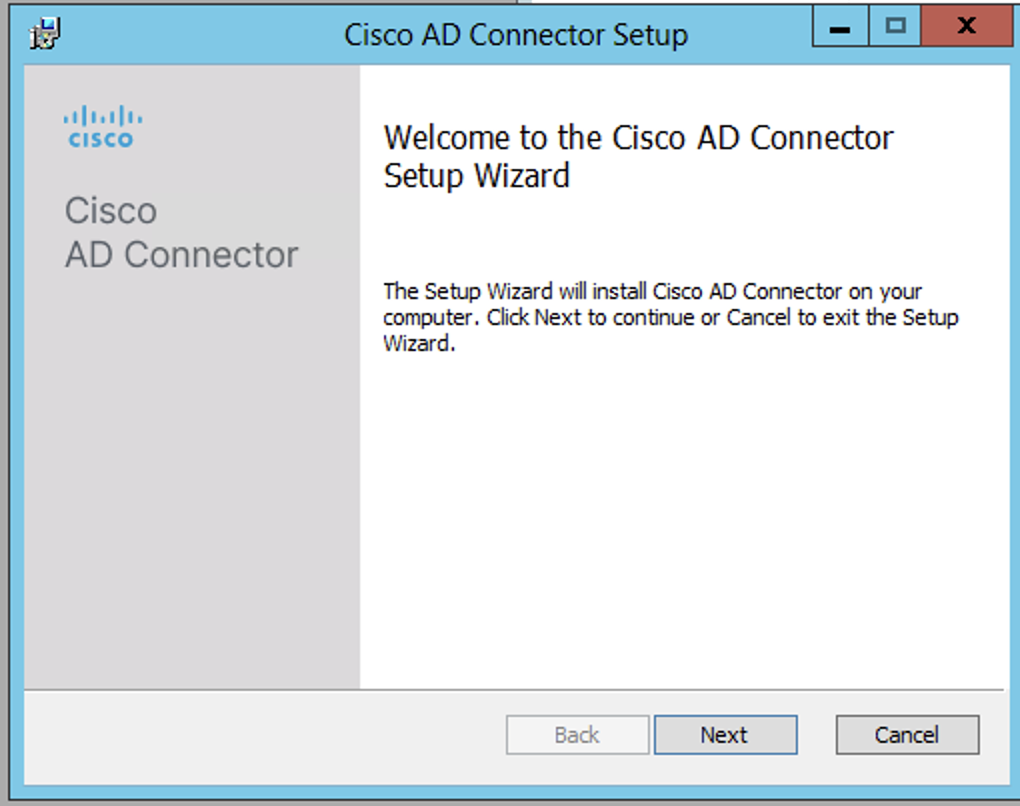
As an administrator, extract the contents of the Cisco AD Connector ZIP file to a folder on the server, and then navigate to that folder.
Note: If you run the AD Connector installer from the root directory of your server, you may encounter installation errors.
-
Run setup.msi, and then in the Cisco AD Connector Setup wizard, click Next.
-
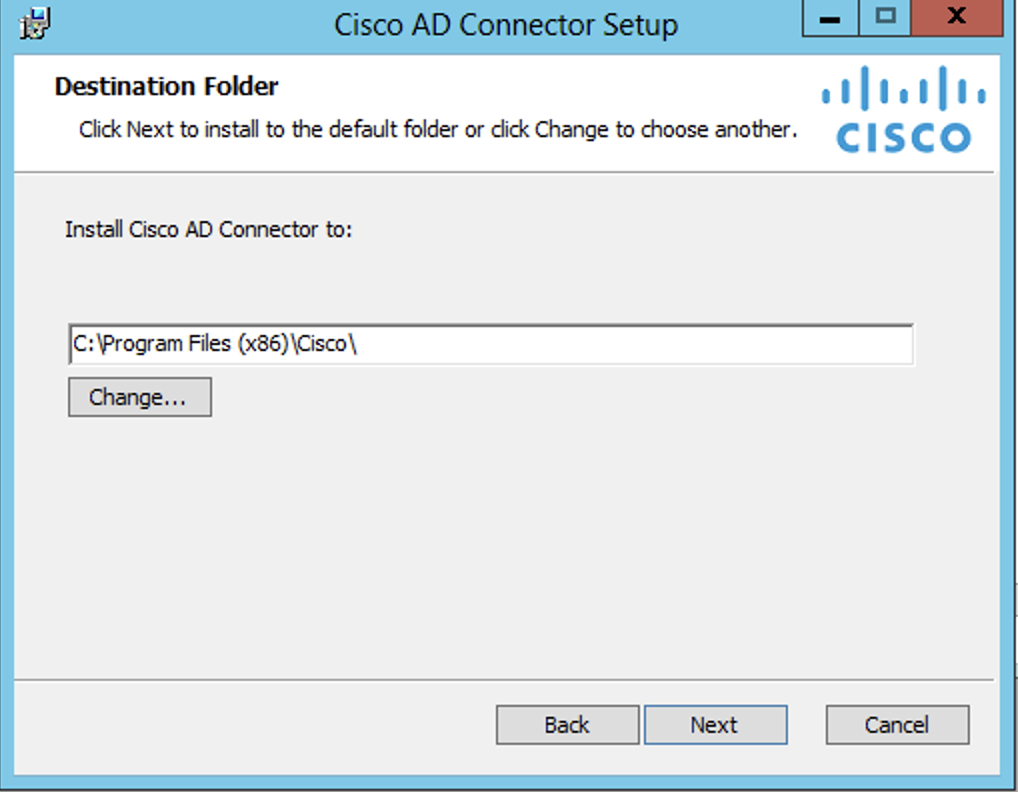
Choose the directory on the server to install the Cisco AD Connector.
-
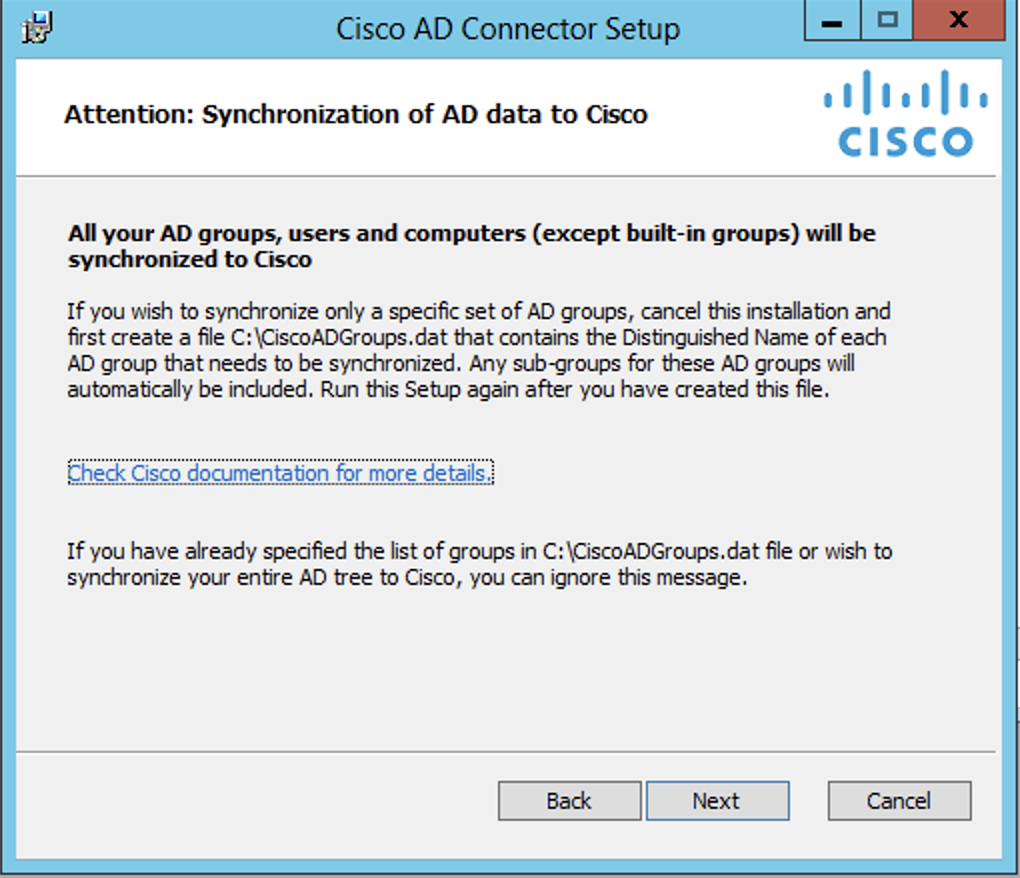
Confirm that you permit your AD Users and Groups to sync to Secure Access from the Cisco AD Connector.
-
Add your Active Directory credentials. Enter the Username of the Connector user (Cisco_Connector or custom username) and the Password.
-
Follow the remaining prompts in the setup, and when finished click Finish.
(Optional) Specify AD Groups in Selective Sync File
You can specify the AD Groups for the purpose of creating Access rules in Secure Access. Users and computers belonging to these Groups synchronize to Secure Access.
Rename Selective Sync File After Upgrading to AD Connector v1.14.4
If you use selective sync and upgrade the Cisco AD Connectors to v1.14.4 or later, you must rename the current selective sync file C:\CiscoUmbrellaADGroups.dat to C:\CiscoADGroups.dat.
Note: The selective sync file—previously named CiscoUmbrellaADGroups.dat—is not recognized by the Cisco AD Connector v1.1.4.4 or later.
After you rename the selective sync file, Secure Access automatically reads the selective sync file (C:\CiscoADGroups.dat) and syncs the Users in the specific Groups from AD to Secure Access. You are not required to restart the AD Connector service.
Create AD Groups in a Selective Sync File
- Identify the AD Groups of interest. Users and computers belonging to these Groups synchronize to Secure Access.
For each sub-tree, only the parent group needs to be specified. All AD groups, users, and computers that are part of this parent group are automatically included.
Note: If you enabled Selective Sync, AD Users and Computers that are not members of Groups specified in CiscoADGroups.dat or their subgroups are not synchronized to Secure Access and are completely exempt from Secure Access access rules and reports. - Create a CiscoADGroups.dat file in the C:\ drive of each machine where the connector is installed.
The connector only reads the C:\CiscoADGroups.dat file. If the file is incorrectly named or is not present in the C:\ drive, all groups are imported to Secure Access. - List the AD groups that need to be synchronized in
distinguished name(DN) format in this file. - Ensure that there are no blank lines anywhere in the file.
Note: If you are running multiple AD Connectors, the file C:\CiscoADGroups.dat should be present on each system running the AD Connector and should be identical on each system.
Supported Organizational Units
CN=My Group,OU=Organizational Unit,DC=sample,DC=local
Unsupported Organizational Units
OU=My OU,OU=Organizational Unit,DC=sample,DC=local
Sample File Entries
CN=Engineering,CN=Builtin,DC=ciscoumbrella,DC=com
CN=Sales,CN=Builtin,DC=ciscoumbrella,DC=com
CN=Marketing,CN=Builtin,DC=ciscoumbrella,DC=com
Total Number of Groups Selected for Synchronization
Groups specified in the selective sync file and all of their subgroups should not exceed 15,000. Also, these Groups should not be nested within more than five OU levels. Selective synchronization fails in both cases.
Note: If you can not meet either of these requirements, we recommend that you do not use the selective sync file. Instead, you can do a full AD tree synchronization.
Configure Updates on AD Connectors < Connect Active Directory to Secure Access > Deploy LDIF Files for AD Connector
Updated 6 months ago