Enable Cisco Security Cloud Exchange
This topic describes how to onboard Cisco Secure Access to Cisco Security Cloud.
-
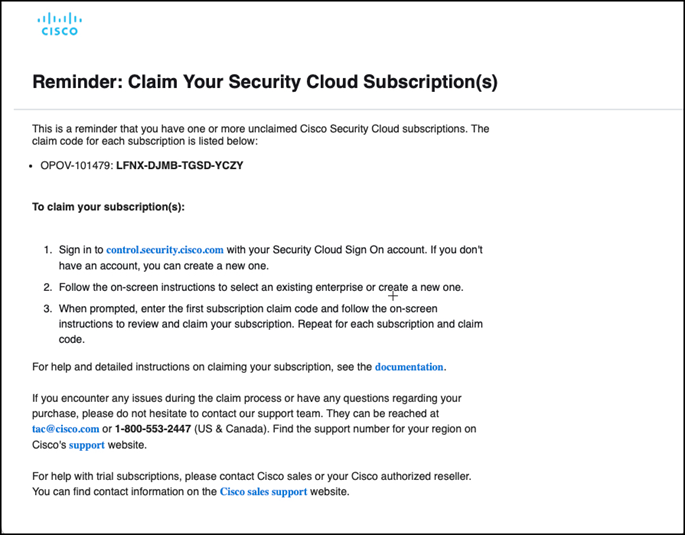
Claim your security cloud subscription. The claim link would be sent to the cloud account administrator via email. See the sample message below:

-
Log in and verify that your cloud account subscription is associated with your provisioned Secure Access organization. To do so, navigate to the Overview screen. You should see Cisco Secure Access listed under Products as shown in the following example view.

-
Next, navigate to Users to see a list of the user(s) that are members of your Cisco Security Cloud enterprise as shown in the following example view. You’ll want to choose one user to be the administrator for integration services.

-
Click the ellipse icon (. . .) for the user you’ve chosen as the integrations administrator, then click Edit.

-
Click Assign roles to user and click + Add Row.
-
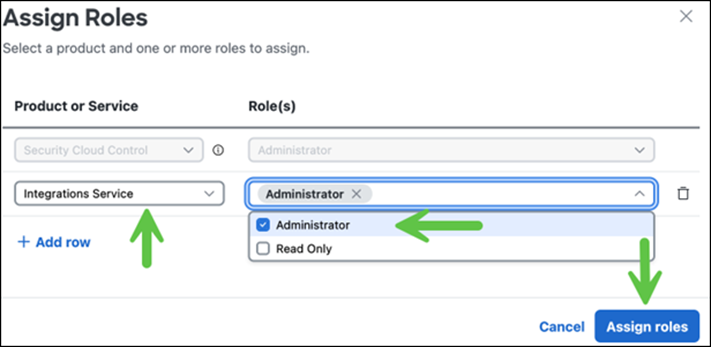
Under Product or Service, choose Integrations Service and under Role(s) check Administrator, then click Assign roles.

-
Open a new browser tab to sign in to Cisco Secure Access using the Integrations Service admin account you just created. Your Secure Access login link will be in this format:
(https://dashboard.sse.cisco.com<SecureAccessOrgID/overview>) -
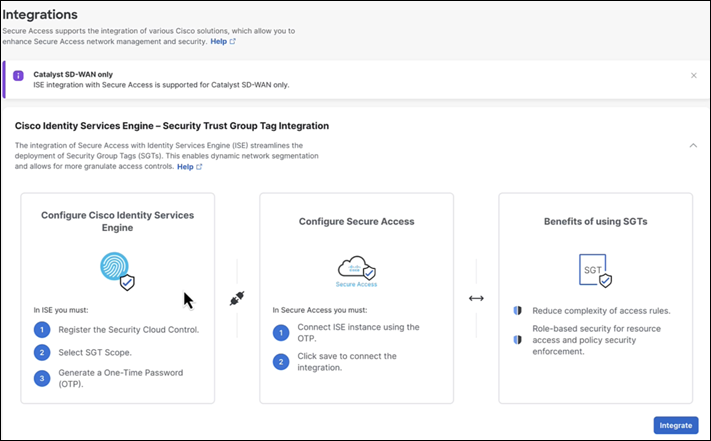
Navigate to Admin > Management > Integrations. You should see the resulting Integrations page similar to the following example.

Note: If your integrations page does not load or displays an error, reach out to your Cisco team for assistance.
Connect Cisco ISE and Cisco pxGrid < Enable Cisco Security Cloud Exchange > Integrate Cisco ISE with Secure Access
Updated 10 days ago
