Add a New Account
You can add users to your instance of Cisco Secure Access by adding a new account. Each account is assigned a role that sets that account's permissions to view, write, change, and delete Secure Access configurations.
Prerequisites
- Full Admin user role. For more information, see Manage Accounts.
Procedure
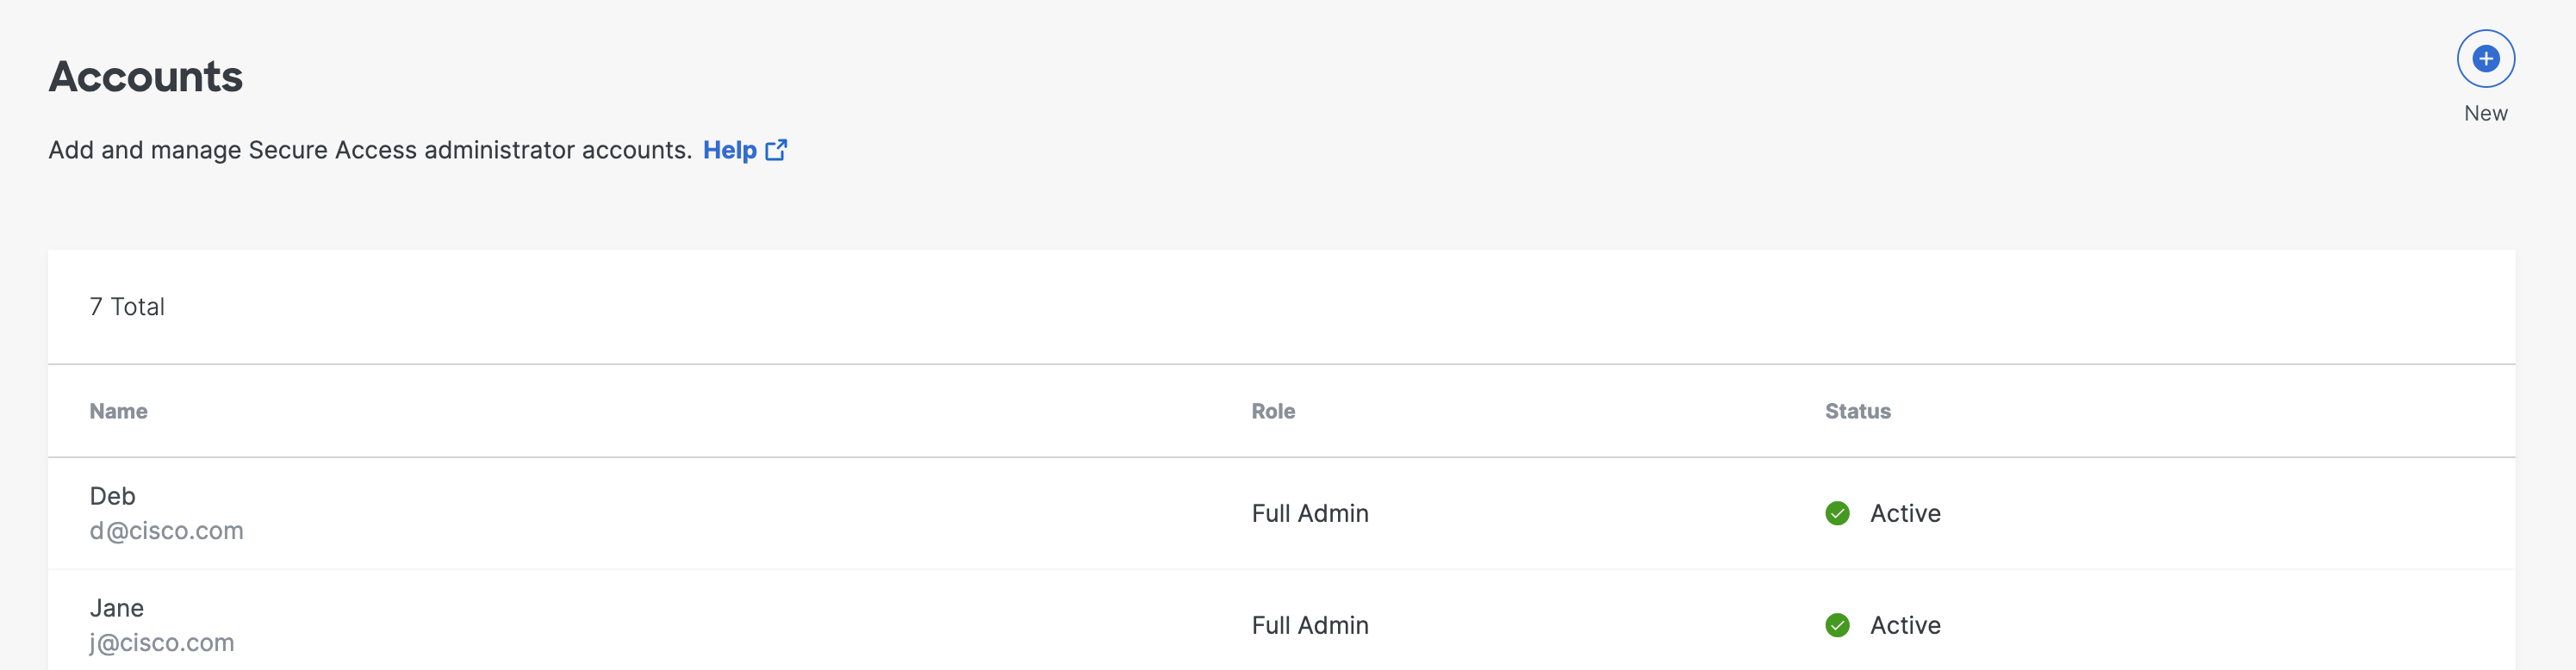
- Navigate to Admin > Accounts and click New.
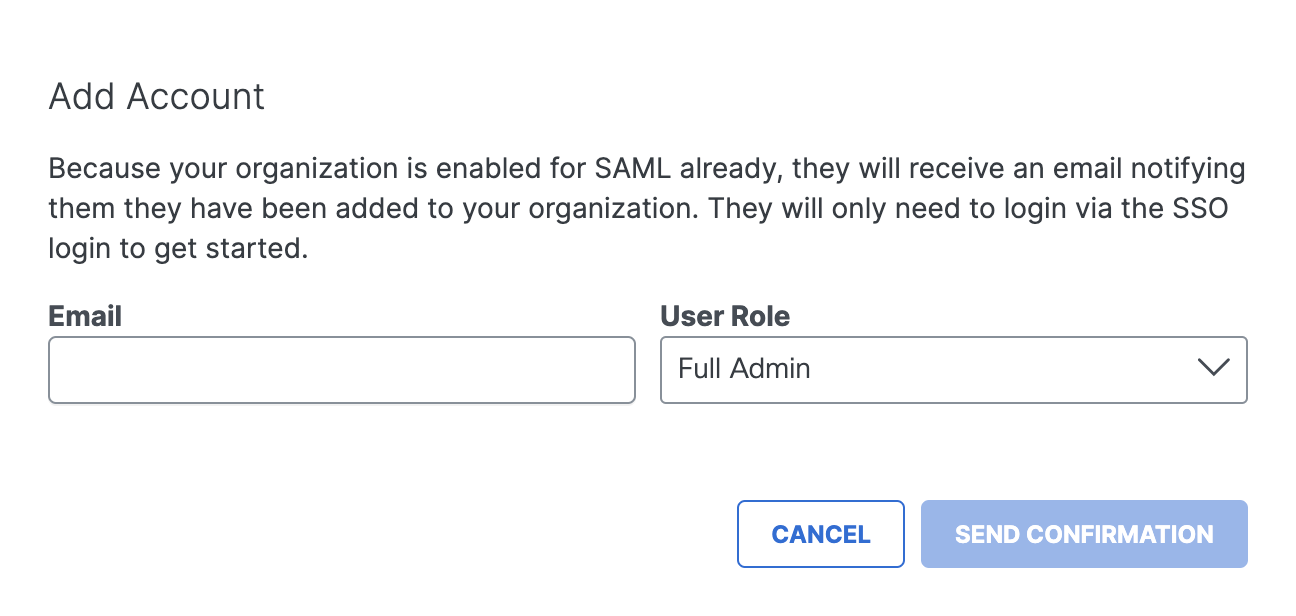
- Enter the user's email address, choose a User Role, and then click Send Confirmation.
User roles are:
- Full Admin—Grants full access to Secure Access. This includes the ability to add users and assign roles.
- Read-Only—Grants limited access to Secure Access. A Read-Only administrator can only view pages and reports. Functionality, including buttons, may not be displayed or available.
- Security Administrator—Grants the same access as the Full Admin role, but does not have access to Data Loss Prevention (DLP) classifications, DLP policies, or the DLP Report.
- A message is sent to the new user's email address with instructions for setting a password.
Note: When the new user clicks Confirm Invite, Secure Access redirects them to the Secure Access login page.
After a user creates a password and signs in, the user has access to your instance of Secure Access. The user's role controls their level of access.
Once the account is added, its status is Active and you can edit the account. For more information, see Edit Account Settings.

Manage Accounts < Add a New Account > Edit Account Settings
Updated 10 months ago