Enable Cloud Malware Protection for ServiceNow Tenants
Secure Access supports Cloud Malware protection for your ServiceNow deployment. Once you have authorized a ServiceNow tenant for Cloud Malware protection, you can create an app in ServiceNow to view the Cisco Quarantine table maintained in ServiceNow.
Table of Contents
- Prerequisites
- Limitation
- Find the Instance Name for your ServiceNow admin Account
- Assign the oauth_user role to the ServiceNow admin Account
- Add an OAuth Client to Your ServiceNow Deployment
- Authorize a Tenant
- Edit a Tenant
- Revoke Authorization
- View the Cisco Quarantine Table in Service Now
Prerequisites
- Chrome or Firefox (recommended) with pop-up blockers and ad blockers disabled (only for the duration of authorization).
- The application scope in your ServiceNow deployment must be set to Global.
- You must obtain the Instance Name for your ServiceNow account.
- The user performing the installation must use a ServiceNow account with the ais_high_security_admin role and the oauth_user role .
- You must add an OAuth Client to your ServiceNow deployment
Limitation
- A tenant that fails to authenticate cannot be deleted.
Find the Instance Name for your ServiceNow admin Account
Perform these steps in your ServiceNow IT Service Management portal.
1.) Navigate to the All tab.
2.) Filter for Stats. Under System Diagnostics>Stats click on Stats.
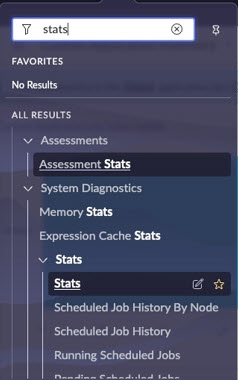
3.) In the Servlet Statistics page that appears, note the value of the Instance name.
Assign the oauth_user role to the ServiceNow admin Account
Perform these steps in your ServiceNow IT Service Management portal. Make sure you have the ais_high_security_admin role and the application scope is set to Global.
1.) Navigate to All>User Administration>Users.
2.) Search for the User ID of the admin account and click on it.
3.) Click on the Roles tab.
4.) Click Edit.
5.) Under Collection search for the role oauth_user, select it, and click > to move it to the Roles List.
6.) Click Save.
Add an OAuth Client to Your ServiceNow Deployment
Perform these steps in your ServiceNow IT Service Management portal. Make sure you have the ais_high_security_admin role and the oauth_user role ,and the application scope is set to Global.
- Navigate to All>System OAuth>Application Registries
- Click on New and select Create an OAuth API endpoint for external clients.
- Fill out the form that appears with the following required values (other fields are optional):
- Name: Enter a name that will be used by the Secure Access ServiceNow Connector as a Client Id.
- Client Secret: Enter a secret value compliant with your org policy. Take note of this value, as you will need it again when authorizing your ServiceNow tenant with Secure Access.
- Redirect URL: https://management.api.umbrella.com/admin/v2/cloudApplicationInstances/oauth2/callback
- Refresh Token Live Span: We recommend entering 31,536,000 seconds, which is one year. Once the refresh token expires, the ServiceNow tenant will need to be authorized with Secure Access again.
- Application: Global.
- Click Submit.
Authorize a Tenant
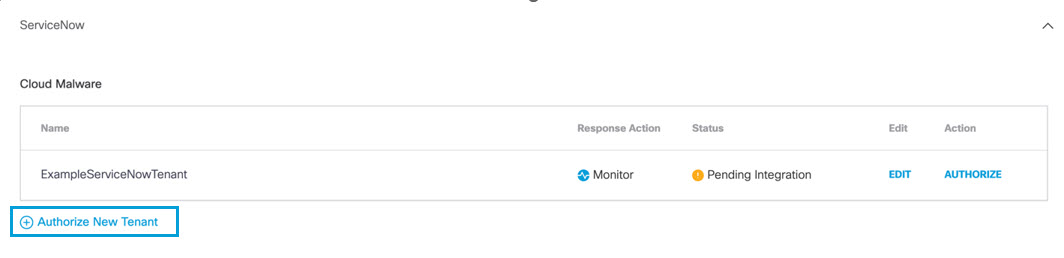
- Navigate to Admin > Authentication.
- In the Platforms section, click ServiceNow.
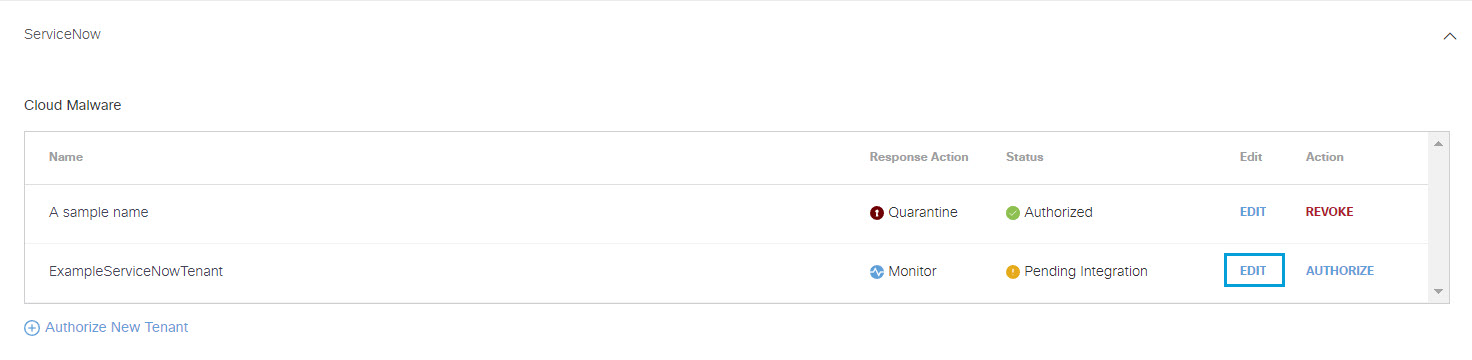
- In the Cloud Malware subsection, click Authorize New Tenant to add a ServiceNow tenant to your Secure Access environment.
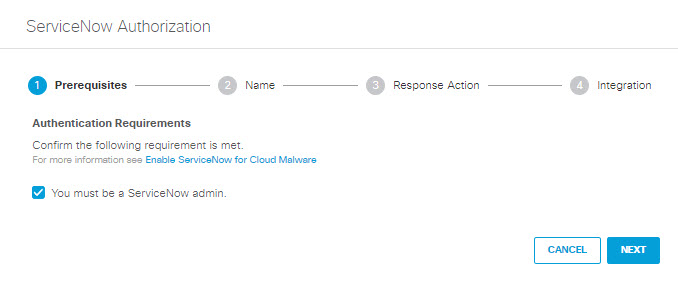
- In the ServiceNow Authorization dialog, check the checkbox to verify you meet the prerequisite and then click Next.
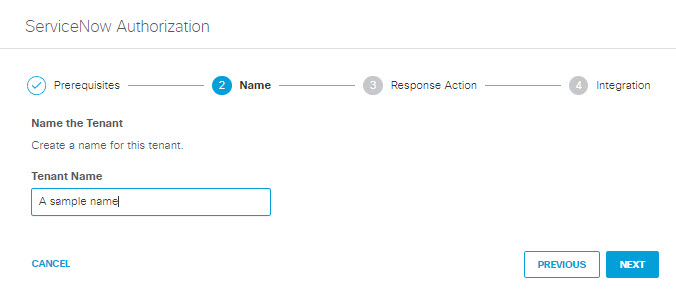
- Add a Tenant Name and then click Next.
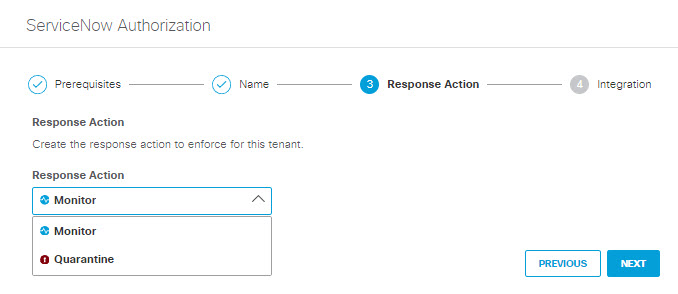
- Select a Response Action for Secure Access to apply to ServiceNow found with malware, then click Next.
- Choose Monitor to cause Secure Access to log files detected with malware. You will be able to manually quarantine these files from the Cloud Malware report.
- Choose Quarantine to:
- Move the file into a table named Cisco_Quarantine_Malware which can be access only by the admin user who authorized the ServiceNow tenant.
- Attach a footprint to the notes\activities area of the table the file is attached to. This footprint will notify users that the file has been identified as malware, and for more information they should contact their administrator.

- Enter the following and then click Done:
- Account ID: Enter the Instance Name for your ServiceNow account.
- Client ID: Enter the Name you supplied in Step 3 of Add an OAuth Client to Your ServiceNow Deployment.
- Client Secret: Enter the Client Secret you supplied in Step 3 of Add an OAuth Client to Your ServiceNow Deployment.

NOTE: Save this information in a reliable location, as you will need it any time you change the Response Action for the tenant in the future.
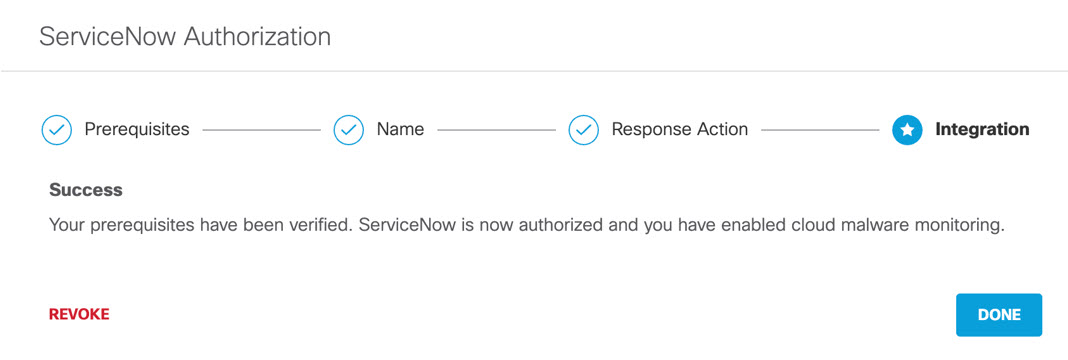
- You are redirected to the ServiceNow OAuth login page and a message will appear notifying you that secure-access-oauth would like to connect to your ServiceNow account. Click Allow.
- You are redirected to Secure Access and a message appears showing the integration was successful. It may be up to 24 hours for the integration to be confirmed and appear as Authorized. Click Done.
Edit a Tenant
You can change the Response Action you have selected for a tenant.
- Navigate to Admin > Authentication.
- In the Platforms section, click ServiceNow.
- In the ServiceNow subsection , from the Edit column, click Edit. You can edit any tenant.
- Select a Response Action for Secure Access to apply to Microsoft 365 files found with malware and then click Next.
- Choose Monitor to cause Secure Access to log files detected with malware. You will be able to manually quarantine these files from the Cloud Malware report.
- Choose Quarantine to:
- Move the file into a folder named Cisco_Quarantine_Malware in the root path of the admin who authorized the tenant, remove all collaborators, and change the file owner to the Microsoft 365 admin.
- Replace the file in its original location with a text file named filename.ppt_Cisco_Quarantined.txt explaining to the original file owner that the file is identified as malware and for more information to contact their organization administrator.
- Enter the following and then click Done:
- Account ID: Enter the Instance Name for your ServiceNow account.
- Client ID: Enter the Name you supplied in Step 3 of Add an OAuth Client to Your ServiceNow Deployment.
- Client Secret: Enter the Client Secret you supplied in Step 3 of Add an OAuth Client to Your ServiceNow Deployment.

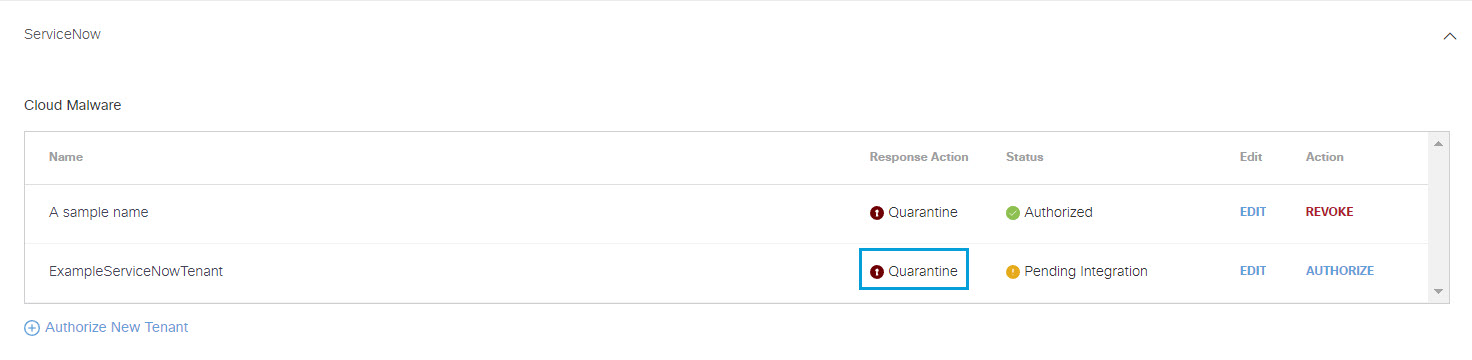
- The new Response Action is displayed.
Revoke Authorization
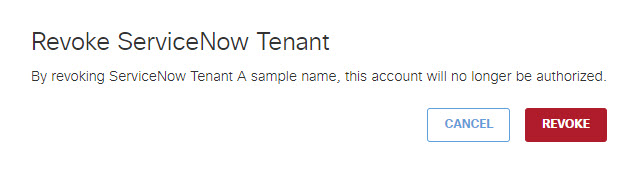
- For Action, click Revoke. You can revoke any authorized tenant.
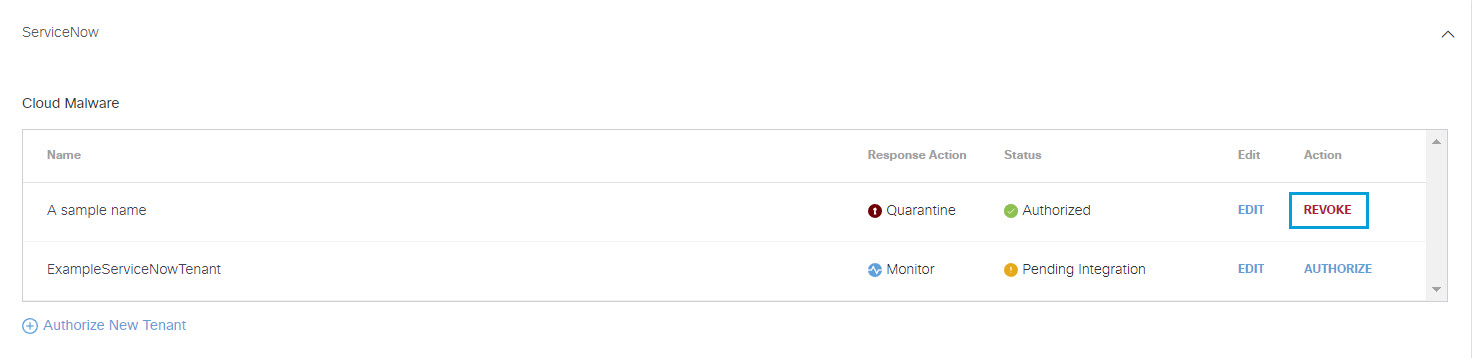
- Click Revoke. The selected account is no longer authorized.
View the Cisco Quarantine Table in Service Now
ServiceNow maintains information about quarantined files in a table called Cisco Quarantine. Perform these steps in your ServiceNow IT Service Management portal to create an application you can use to view that table:
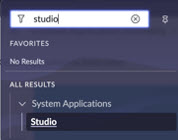
1.) Filter for Studio. Under System Applications click on Studio.
2.) In the Studio interface, click Create Application.
3.) In the screens that follow, choose the following characteristics for your new application:
A.) Provide an application Name and Description.
Under Advanced settings choose Global.
Click Create.
B.) Under Roles, select ais_high_security_admin.
Click Continue.
C.) For Format select Classic.
Click Continue.
D.) For Data tables select Cisco Quarantine [u_cisco_quarantine].
Click Done with tables.
4.) On the page titled It's time to design your apps, click Start to the right of the listing for your new application.
5.) On the page titled Let's customize the design of your Classic App, click Create.
Enable Cloud Access Security Broker Protection for Microsoft 365 Tenants < Enable Cloud Malware Protection for ServiceNow Tenants > Enable Cloud Malware Protection for Slack Tenants
Updated 5 months ago