Manage DNS Servers
Add DNS servers to resolve DNS requests to internet resources. When adding these DNS servers, DNS Server 1 resolves before DNS Server 2. Provide DNS servers that could resolve both IPv4 and IPv6 if applicable.
Table of Contents
Prerequisites
- Full Admin user role. For more information, see Manage Accounts.
About DNS Server Configuration
Add a DNS Server
Add an IP address or address range for a DNS server. Your DNS traffic routes through the DNS servers managed by Secure Access.
- Navigate to Connect > End User Connectivity > Virtual Private Network and click Add IP Pool.
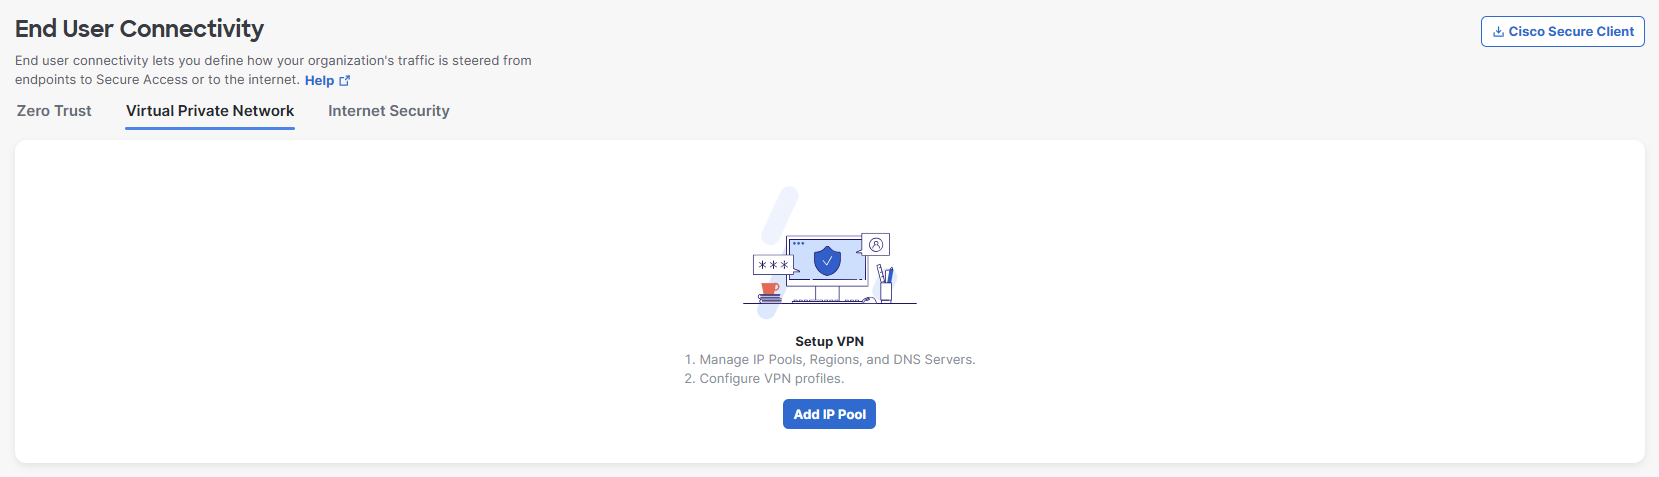
-
Click Add IP Pool.
-
Enter the IP pool parameters, including the required DNS Server. During the initial deployment before any IP pools have been configured, there is no DNS configuration. You must provide a valid DNS server.

-
Click + Add to add the initial DNS server configuration.
- Enter a label for the DNS server in the Name field.
- For DNS Server 1 provide the IP address of the primary DNS server. Optionally, if you have a secondary DNS server, add an IP address for DNS Server 2.
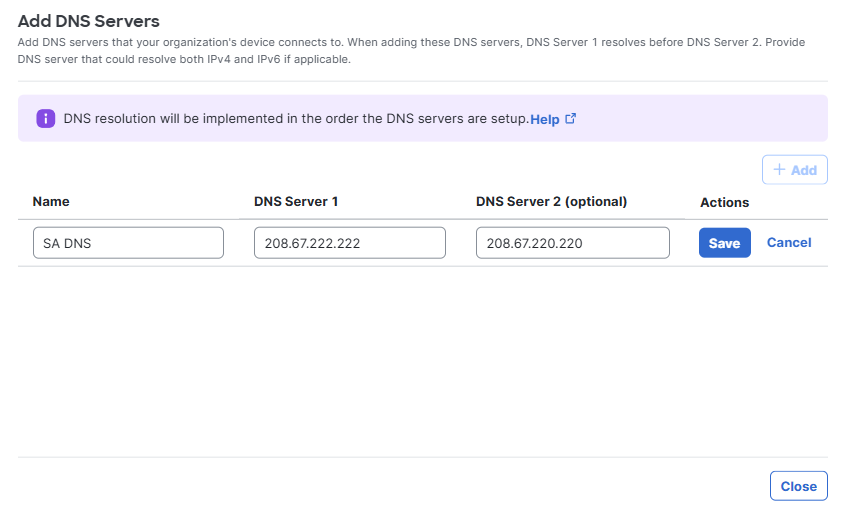
- Click Save and then click Close.
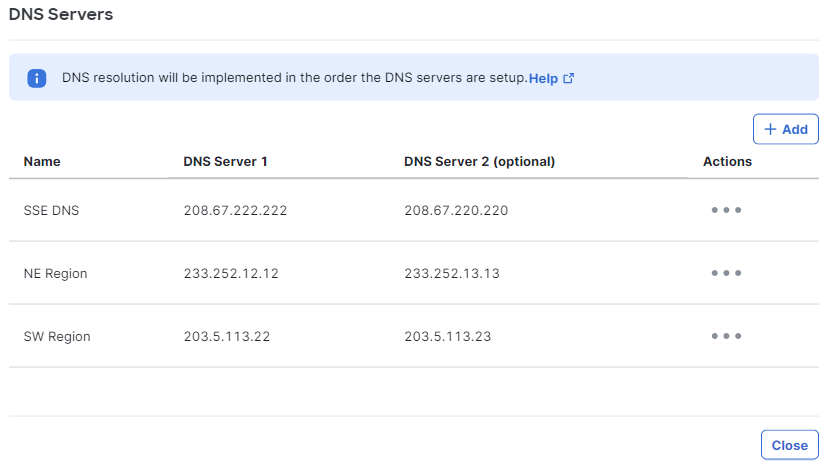
View DNS Servers
You can view the DNS servers that are configured for your organization. Your DNS traffic routes through the DNS servers managed by Secure Access.
- Navigate to Connect > End User Connectivity, click Manage Servers and choose DNS Servers.

- The list of configured DNS servers is displayed.
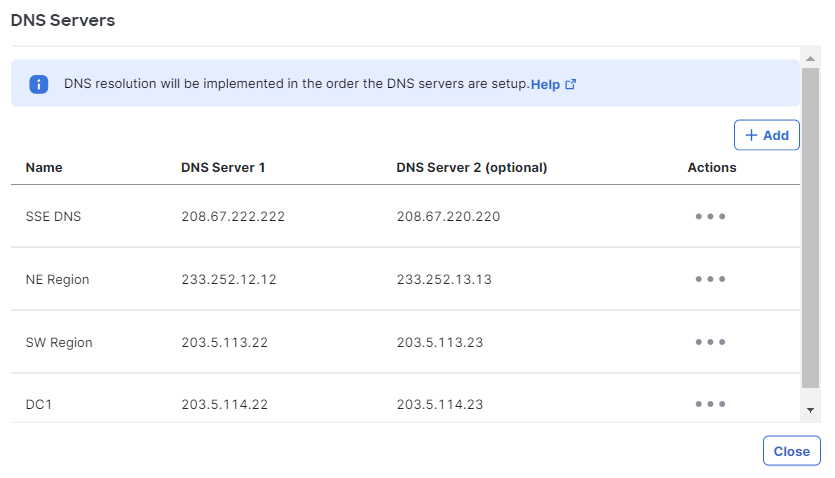
- From the list you can click Add to add a new entry, or click the ellipsis (...) to Edit or Delete a DNS server entry.
- Click Close to dismiss the list.
Edit a DNS Server
You can edit the attributes for a DNS server entry.
- Navigate to Connect > End User Connectivity, click Manage Servers and choose DNS Servers.

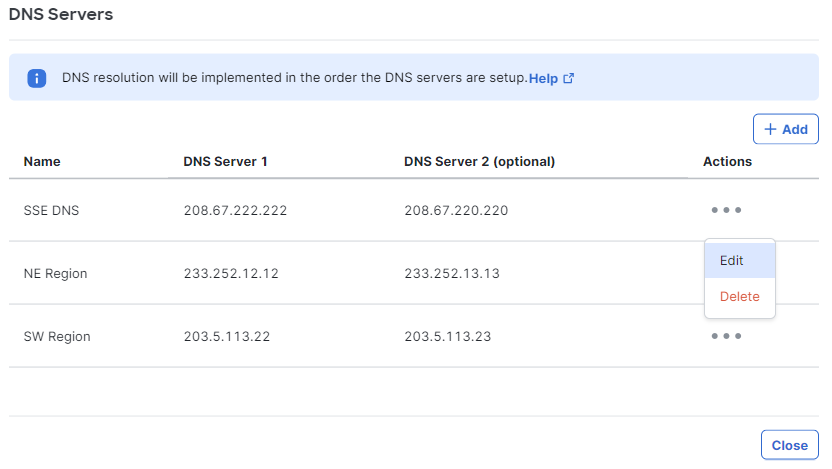
- Click the ellipsis (...) to Edit a DNS server entry.
- You can modify the label for the DNS server in the Name field as well as modify the IP address of the primary and secondary DNS servers as needed for DNS Server 1 and DNS Server 2.
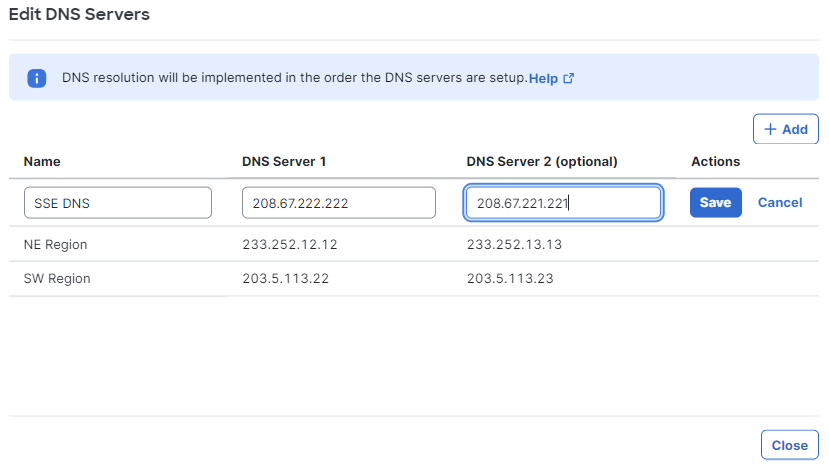
- Click Save and then click Close.
Delete a DNS Server
You can delete a DNS server entry.
- Navigate to Connect > End User Connectivity, click Manage Servers and choose DNS Servers.

- Click the ellipsis (...) to Delete a DNS server.
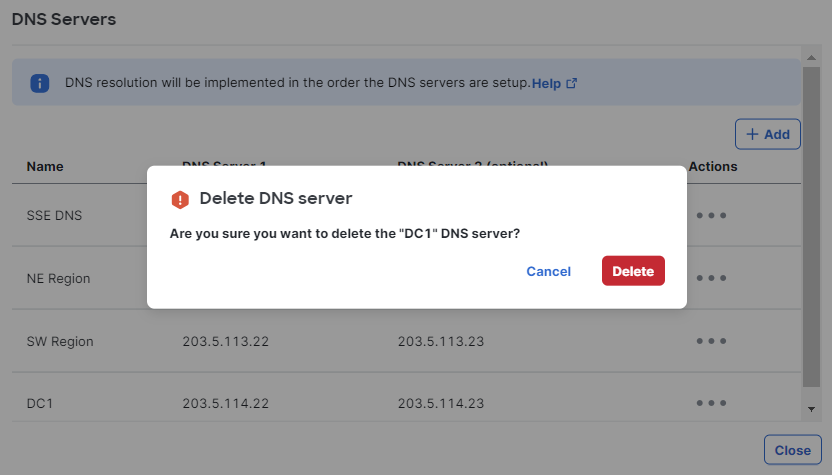
- Review the Delete DNS server message and then click Delete.
- Scan the DNS server list to confirm that the DNS server is removed.
- Click Close.
Manage DNS and DDNS Servers < Manage DNS Servers > Map DNS Servers to Regions
Updated 4 months ago