Configure Virtual Appliances
Configure your Cisco Secure Access Virtual Appliances (VAs) deployed in VMWare, Hyper-V, KVM, Azure, AWS, Google Cloud Platform, Nutanix, or Alibaba Cloud.
Table of Contents
- Prerequisites
- Enter Configuration Mode on a VA Deployed on VMware, Hyper-V, or KVM
- Enter Configuration Mode on a VA Deployed in Azure, AWS, or Google Cloud Platform
- Configure the VA Through Configuration Mode
- Configure a Second VA
Prerequisites
- Deploy Virtual Appliances in your environments. For more information, see Deploy Virtual Appliances.
Enter Configuration Mode on a VA Deployed on VMware, Hyper-V, or KVM
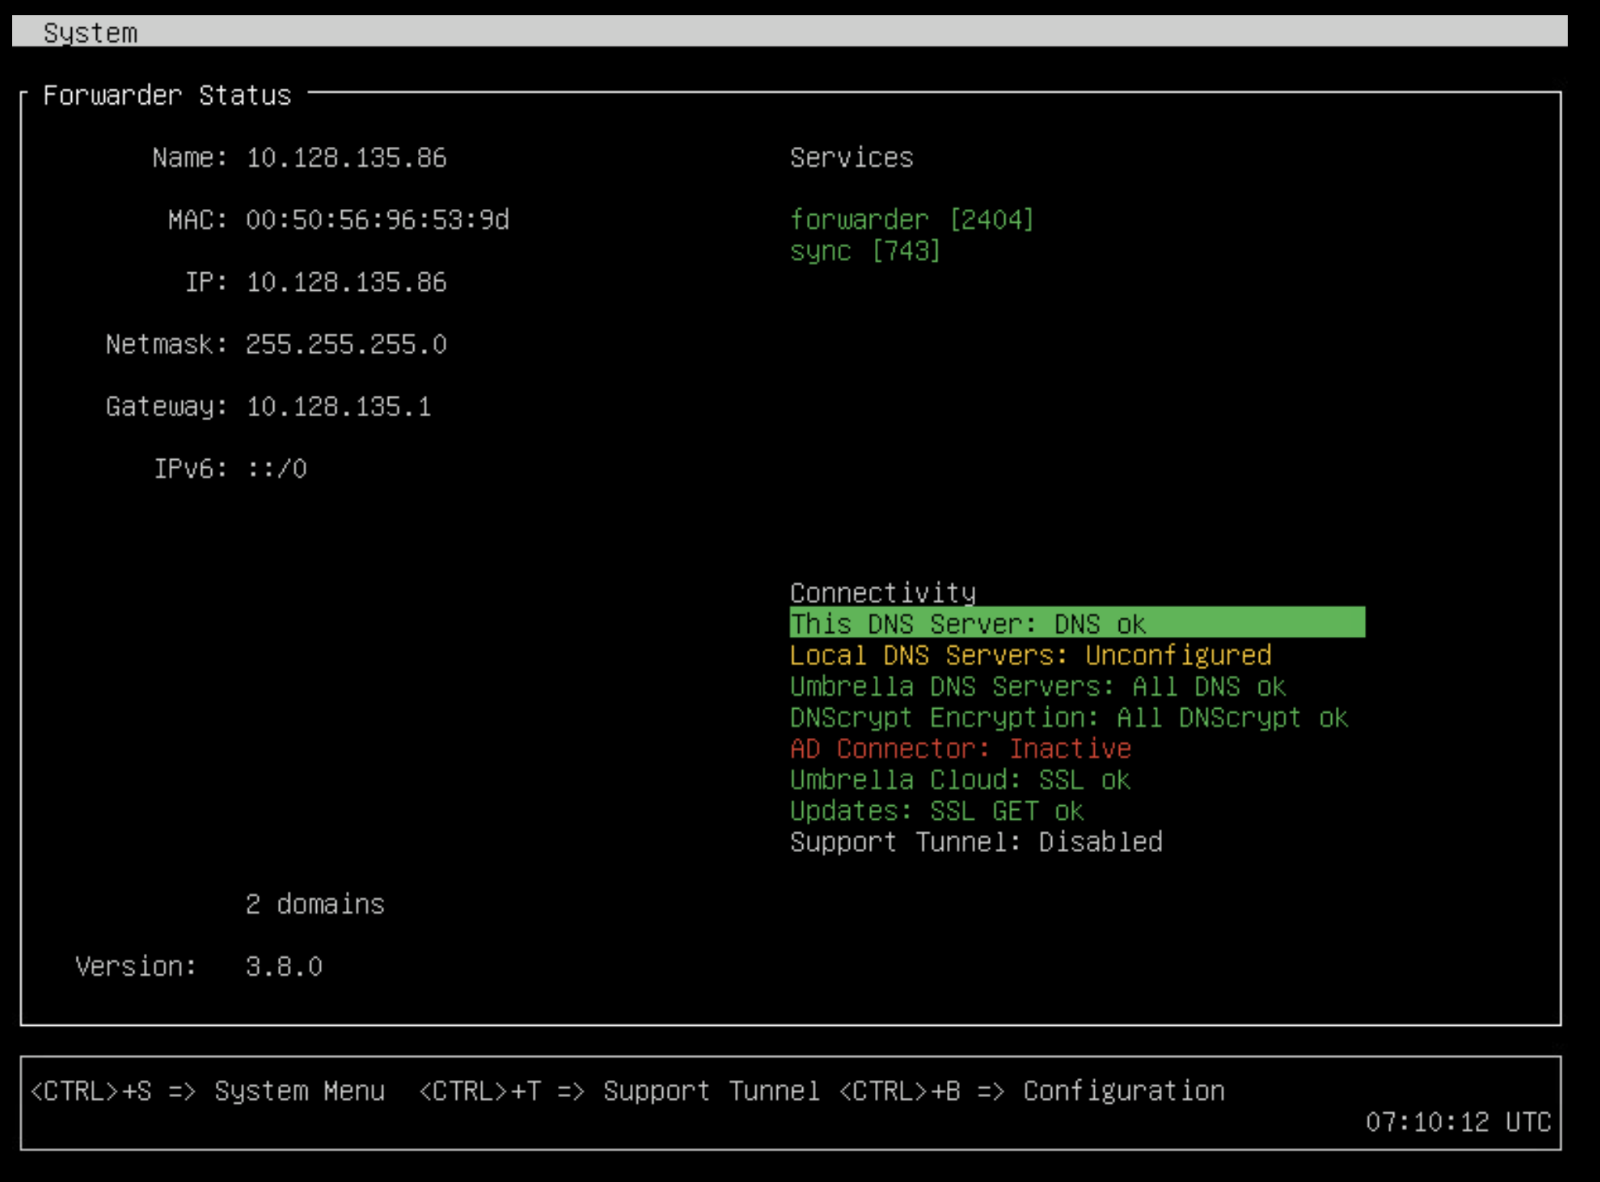
When you open the VA in your preferred hypervisor's console, and you'll see a configuration menu. As seen in the lower right corner, the system time is set to UTC by default. This will not affect your DNS, network, or hypervisor.
Note: To access the VA console efficiently, use a native application (such as VMware vSphere Client, VMware Remote Console, or RDP).
If you have deployed the VA in a network that supports DHCP, the VA is automatically assigned a DHCP IP address and registers to Secure Access using this IP. This IP address appears on the configuration and in Secure Access.

- Press Ctrl+B. When prompted, provide a password for configuration changes.
Tip: Using the numeric lock or the number pad on your keyboard may return incorrect characters. You must change the password when you enter Configuration Mode. Your password must be at least eight characters long, include at least one lowercase character, one uppercase character, one digit, and one special character. Your password cannot be the same as your last password.
Note:Umbrella<OrgID>should be set as the default password for the VA. Your Org ID can be retrieved from the dashboard URL in your address bar. For example, if your Org ID is2406960, the default password for the VA would beUmbrella2406960. For more information about the Secure Access Org ID, see Find Your Organization ID. - Optionally, enable remote configuration of this VA over SSH, enter:
config va ssh enable - If you have enabled SSH, you can now remotely connect to the VA over SSH and enter Configuration Mode after authentication. Enter:
Note: Configuration mode does not support concurrent access by more than two users.
ssh vmadmin@<VA’s IP address>
Enter Configuration Mode on a VA Deployed in Azure, AWS, or Google Cloud Platform
A VA can be deployed in Azure with either a static IP address or a DHCP IP address. If you do not specify a static IP address at the time of deployment, the VA is automatically assigned a DHCP IP address and registers to Secure Access using this IP address. Secure Access lists this IP address as the name of the VA. For more information, see Manage DNS Forwarders.
In the case of AWS and Google Cloud Platform, the VA is automatically assigned a DHCP IP address and registers to Secure Access using this IPO address. Secure Access lists this IP address as the name of the VA on the dashboard.
- Connect to the VA’s static or DHCP IP address over SSH. Enter:
SSH access to the VA requires authentication:
ssh vmadmin@<VA’s IP address> - Enter the default password.
For information about the VA password, see Reset Password for Virtual Appliance .
Secure Access prompts you to change the password the first time you log into Configuration Mode. Your password must be at least eight characters long, include at least one lowercase character, one uppercase character, one digit, and one special character. Your password cannot be the same as your last password.
Note: Configuration mode does not support concurrent access by more than two users.
Configure the VA Through Configuration Mode
Configuring the VA involves configuring the name, IP details, and local DNS servers. It is mandatory to configure the name and IP, netmask, and gateway (unless already configured). Failing to do this results in the VA not being able to register to Secure Access.
In addition to an IPv4 address, you can also configure the VA with an IPv6 address. Endpoints with an IPv6 address can use the VA for DNS resolution, and Secure Access logs the internal IPv6 address of the endpoint in the reports. Note: Active Directory integration is currently not supported for IPv6 endpoints.
| Field | Description |
|---|---|
| Name* | The name associated with the VA in Secure Access. This is a descriptive name, similar to a hostname for a computer or server. If you have multiple hypervisor hosts, appending or prepending numbers or letters to indicate the local hypervisor host is advised.
|
| IP, Netmask, and Gateway* | Give the VA a local, static IP address on the same network as your endpoints which will utilize the VAs for DNS resolution.
For example: |
| Local DNS 1-6 | Configure your local DNS servers that will receive DNS queries for internal domains. These are usually your Windows Servers with the DNS server role installed. You can enter IPv4 and/or IPv6 addresses here. For more information and commands to configure local DNS servers, see Local DNS Forwarding. |
*Mandatory parameters for the VA.

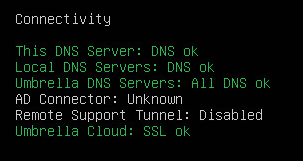
If you have entered the Configuration Mode over SSH, to validate status, enter:
If tests complete without error, the next step is to verify that the VA syncs with Secure Access.
config va status
Configure a Second VA
Repeat the previous steps to configure a second VA. A second VA is required for continuous operation, high availability, and automatic upgrades.
- Do not clone the first VA. Secure Access does not recognize a cloned VA.
- Ensure that your second VA is set up manually.
Note: Azure AD Domain Services is currently not supported. For identity integration with the VA, the AD Connector and Domain Controllers should be deployed as VMs in Azure. Alternately, these components can be deployed on-premise provided there is an ExpressRoute or MPLS connection over which the AD Connector can communicate with the VA in Azure.
Deploy VAs in Alibaba Cloud < Configure Virtual Appliances > Configure Settings on VAs
Updated about 1 month ago
