Add a Cloud Identity Provider
Cisco Secure Access supports provisioning users and groups through integrations with identity providers (IdPs). Secure Access uses the System for Cross-domain Identity Management (SCIM) protocol to exchange user and group information with Azure, Okta, and other IdPs.
In Secure Access, generate a SCIM token for the integration and get the Secure Access identity provisioning URL. Then, from the IdP, add your token and Secure Access identity provisioning URL to establish the integration between Secure Access and the IdP.
Table of Contents
Prerequisites
- Full Admin user role. For more information, see Manage Accounts.
Requirements
- You can add a maximum of 10 user directory integrations for cloud identity providers in Secure Access.
- You can add multiple instances of a cloud IdP in Secure Access. For example: multiple instances of Okta and Azure AD.
- We do not recommend that you provision the same user in multiple instances of an IdP.
- Each IdP instance that you integrate with Secure Access has a unique identifier. Secure Access associates the IdP profile ID for the integration with the generated SCIM token and your organization ID.
Procedure
Add an IdP integration in Secure Access and configure the provisioning of users and groups on the IdP.
Provide a label for the IdP integration, generate an SCIM token, and save the token to your local system.
Copy and save the Secure Access Identity API URL, and then use the Secure Access SCIM token and URL to configure the integration with an IdP.
-
Navigate to Connect > Users and User Groups, and then click Configuration management.

-
On the Configurations tab, click Integrate directories, and then click Identity provider (IdP).

-
For IdP directory name, enter a descriptive label for the IdP integration.
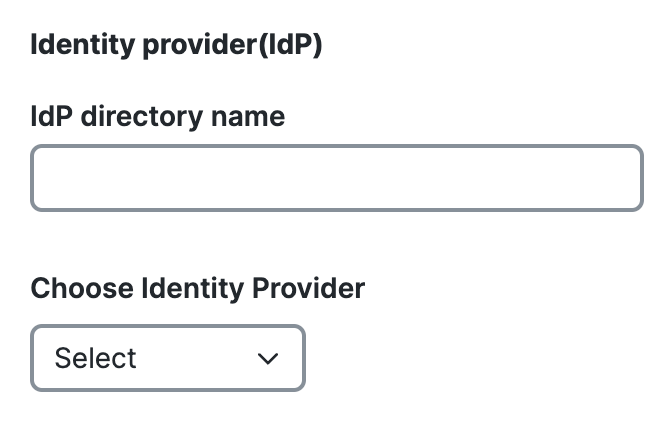
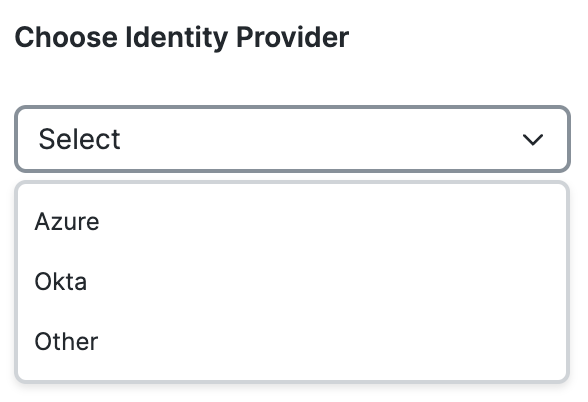
- For Choose Identity Provider, select an IdP or Other, and then click Next.
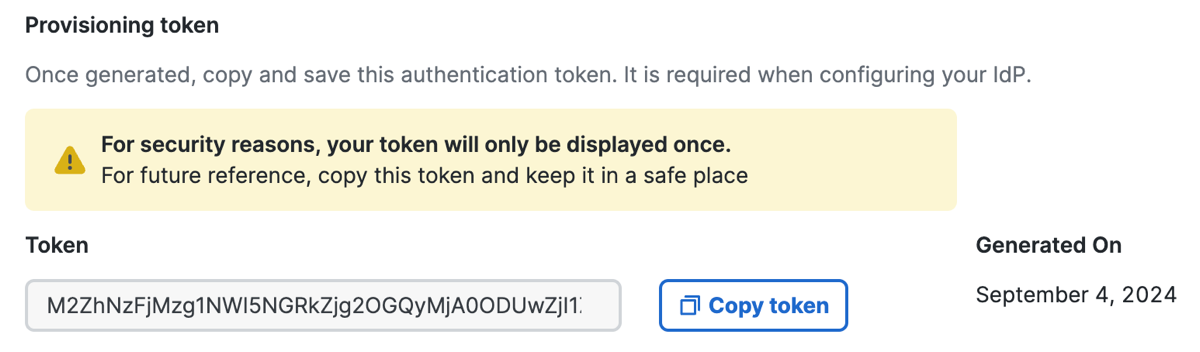
- For Provisioning Token, click Generate Token to create the SCIM token for the integration with the IdP and Secure Access.

- Click Copy token, and then save the SCIM token to your local system.
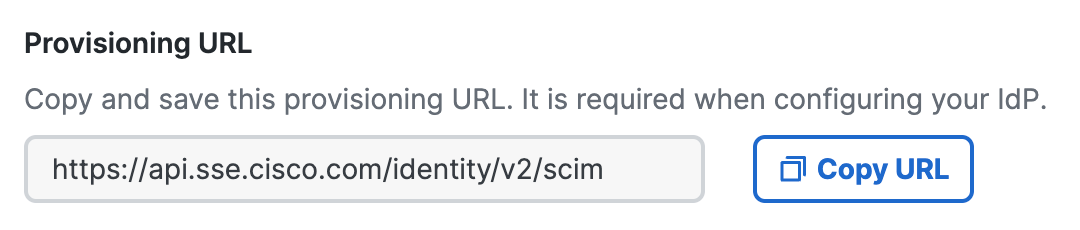
- For Provisioning URL, click Copy URL to get the Secure Access identity provisioning URL.
Save the URL to your local system.
- For Configure your IdP portal, set up an IdP for the organization. For more information, see Configure Identity Providers.
- Click Done.
View an Integrated Cloud Provider
After you add a cloud IdP, view the settings on the configured user directory.
-
Navigate to Connect > Users and User Groups, and then click Configuration management.
-
On the Configurations tab, navigate to Directories, and then expand a user directory.
- Name—The label for the user directory integration.
- Identity Provider—The type of cloud identity provider that is integrated.
- Provision Token—The SCIM token for the user directory integration.
- Token generation date—The date when the provisioning token was created.
- Provisioning URL—The URL of the Secure Access service provider.

What's Next
Configure a user authentication profile for users in the organization to use single sign-on (SSO) when connecting to web and private destinations. For more information, see Add User Authentication Profiles.
Manage Cloud Identity Providers < Add a Could Identity Provider > Edit an Identity Provider Integration
Updated 10 months ago