Deploy the Cisco Security for Chromebooks Client
The Cisco Security for Chromebook client allows you to enable DNS-layer and SWG-layer protection for Chromebook users. This topic explains the steps for deploying the Cisco Security for Chromebook client that involves the use of Secure Access and the Google Admin console.
About DNS-Layer Protection
DNS over HTTPS (DoH) is used to send DNS queries to Secure Access resolvers. DNS queries are sent using DoH templates, which capture the Chromebook identities. Chromebook identities are hashed using a user-defined salt value, which you can use to:
- copy the DoH templates
- configure the Enterprise policy on the Google Admin console
- propagate the DoH templates to the Chromebooks
About SWG-Layer Protection
For SWG protection, Chromebooks are listed as identities in the internet-access policy. Chromebooks are immediately protected by the default rule set and rules of the policy. At any time, add your own rule sets and rules to the internet-access policy to customize your Chromebook protection.
As part of deployment in Secure Access, you copy the Cisco Security for Chromebook client extension ID for access to the Cisco Security for Chromebook client through the Chrome Web Store. During deployment, the file is uploaded to the Google Admin console, which then pushes the Cisco Security for Chromebook client to all your Chromebooks.
Note: After the client is installed on a Chromebook, allow a few hours for Chromebook traffic to appear in Secure Access.
High-Level Steps for Deploying Cisco Security for Chromebook Client
Deploying Cisco Security for Chromebook client includes procedures in Secure Access and the Google Admin console.
Step 1. In Secure Access:
- Configure a salt value
- Get the URLs for two DoH templates
- Download the Chromebook JSON file
Step 2. In the Google Admin console
- Configure the DoH templates
Procedure
Step 1
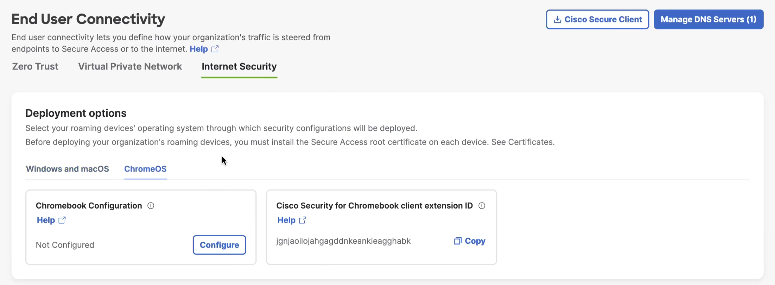
- From Secure Access, navigate to Connect > End User Connectivity.
- On the End User Connectivity page, click the Internet Security tab.

- In the Deployment options section, click the ChromeOS tab.

- In the Chromebook Configuration section, click Configure.
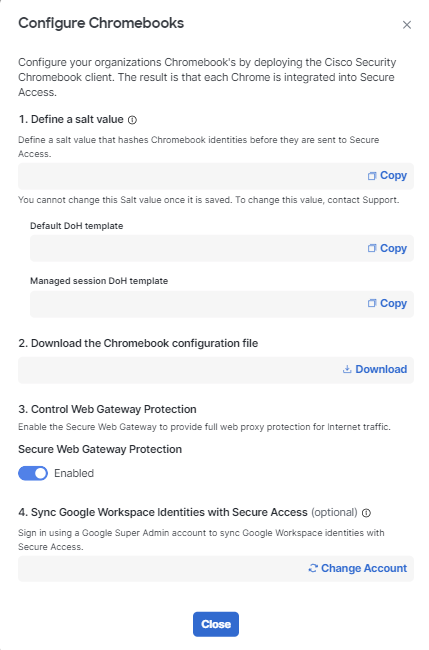
- In the Configure Chromebooks window, follow the onscreen instructions.
- Define a salt value.
- A salt is a piece of random data that is added to a password before the password is hashed and stored. Salting prevents hackers who breach an enterprise environment from reverse-engineering passwords and stealing them from the database.
- Important: Copy and save the salt value. You will need it when you deploy the Cisco Security for Chromebook client in the Google Admin console.
- Result: After you define the salt value, two DoH templates are created:
- The default DoH template, which is used for all managed Chromebooks.
- The managed session DoH template, which is used only for managed guest-session devices.
- Important: Copy and save the URLs for the DoH templates. You will need them when you deploy the Cisco Security for Chromebook client in the Google Admin console.
- Define a salt value.
ii. Download the Chromebook configuration file.
iii. Enable SWG protection.
iv. Recommended: Sync Google Workspace identities with Secure Access. You need superadmin-level access to Google Workspace.
Step 2
- Sign into the Google Admin console.
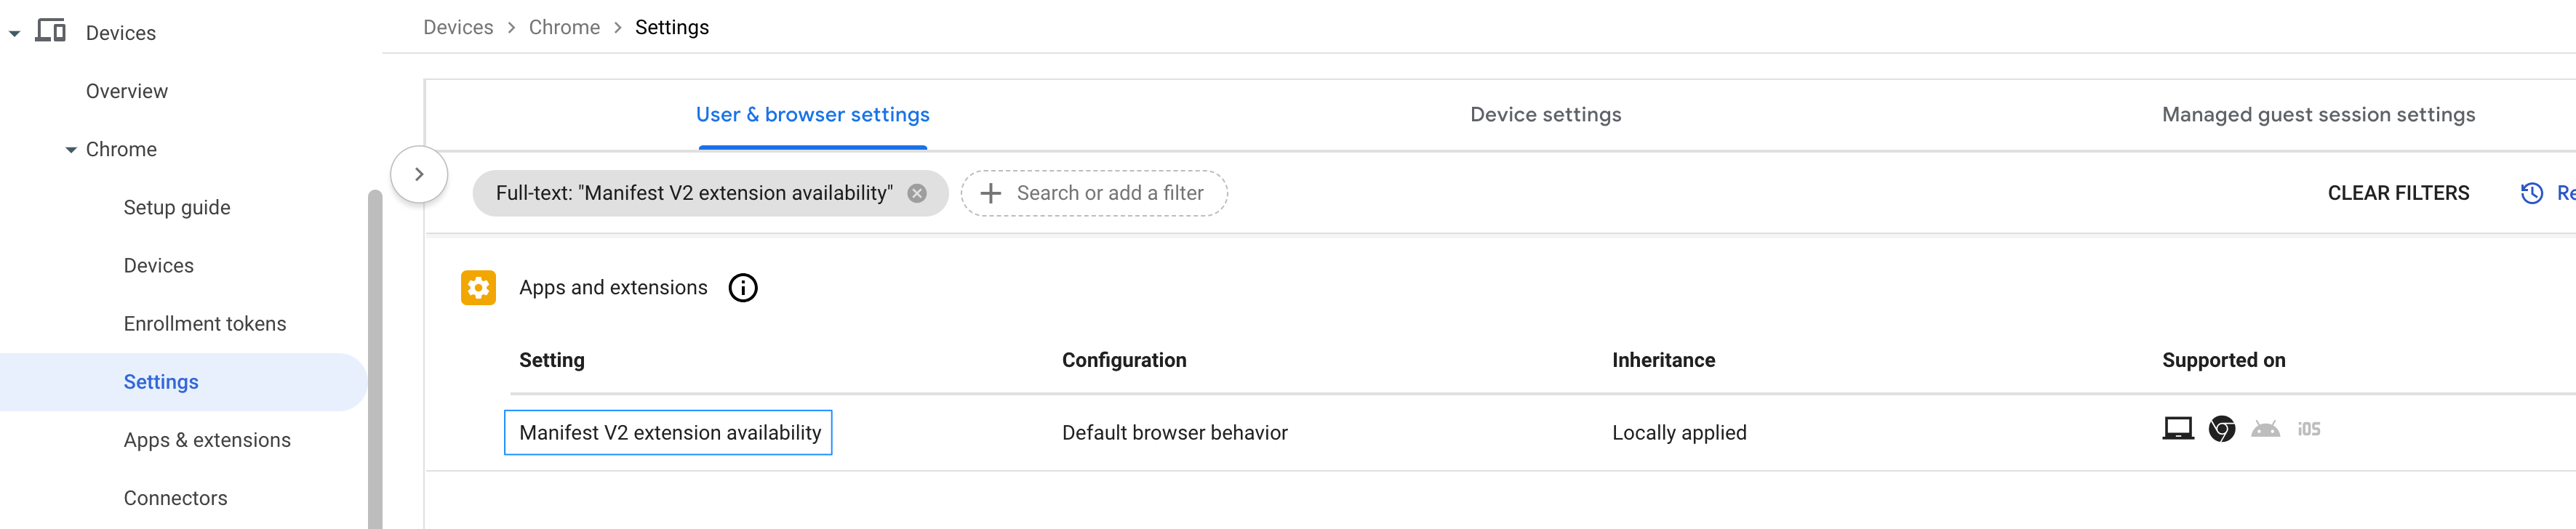
- Navigate to Devices > Chrome > Settings > Users & browser settings.
- Note: Cisco Security for Chromebook is transitioning from Manifest V2 to Manifest V3 for Chrome extensions. In the meantime, Google recommends that you use the Manifest V2 Extensions Availability policy to ensure the continued functioning of Manifest V2 extensions.
- To enable the availability of Manifest V2 extensions, filter the settings for Manifest.
- Result: The Manifest V2 Extension Availability displays.
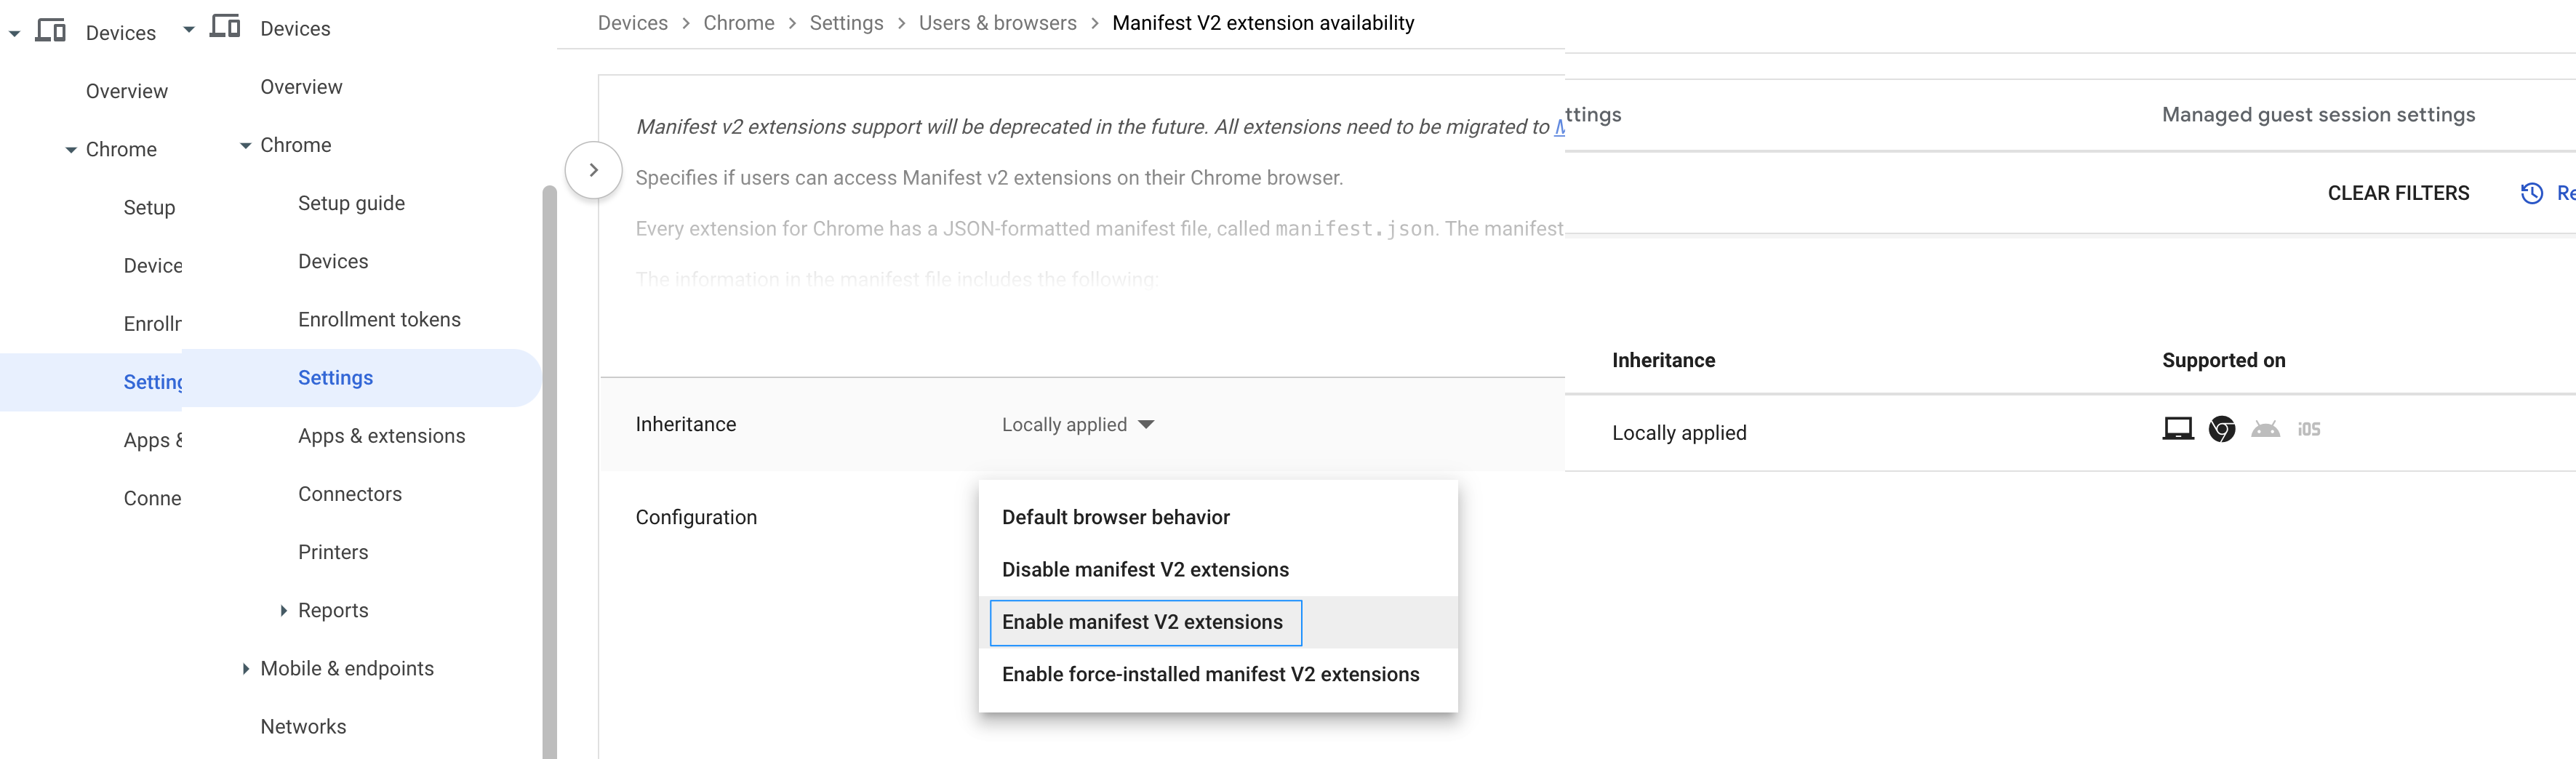
- Select the parent OU on which you want to enable the Manifest V2 extension availability policy.
- Click Manifest V2 extension availability.
- In the Configuration drop-down list, choose Enable manifest V2 extensions.
- Filter for DNS.
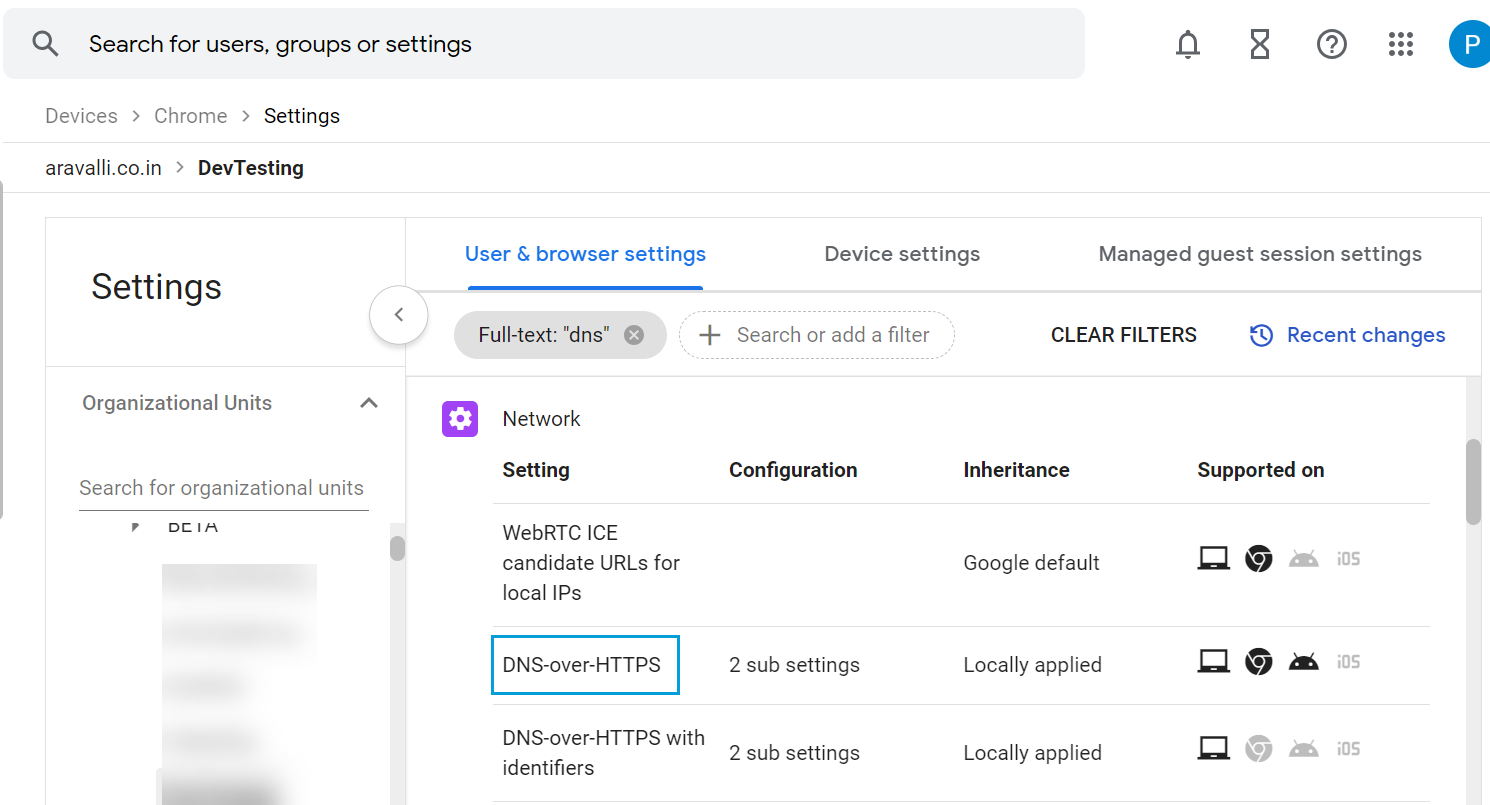
- Click DNS-over-HTTPS and configure it to Enable DNS-over-HTTPS with insecure fallback.

- Return to the Users & browser settings page and click DNS-over-HTTPS with Identifiers.
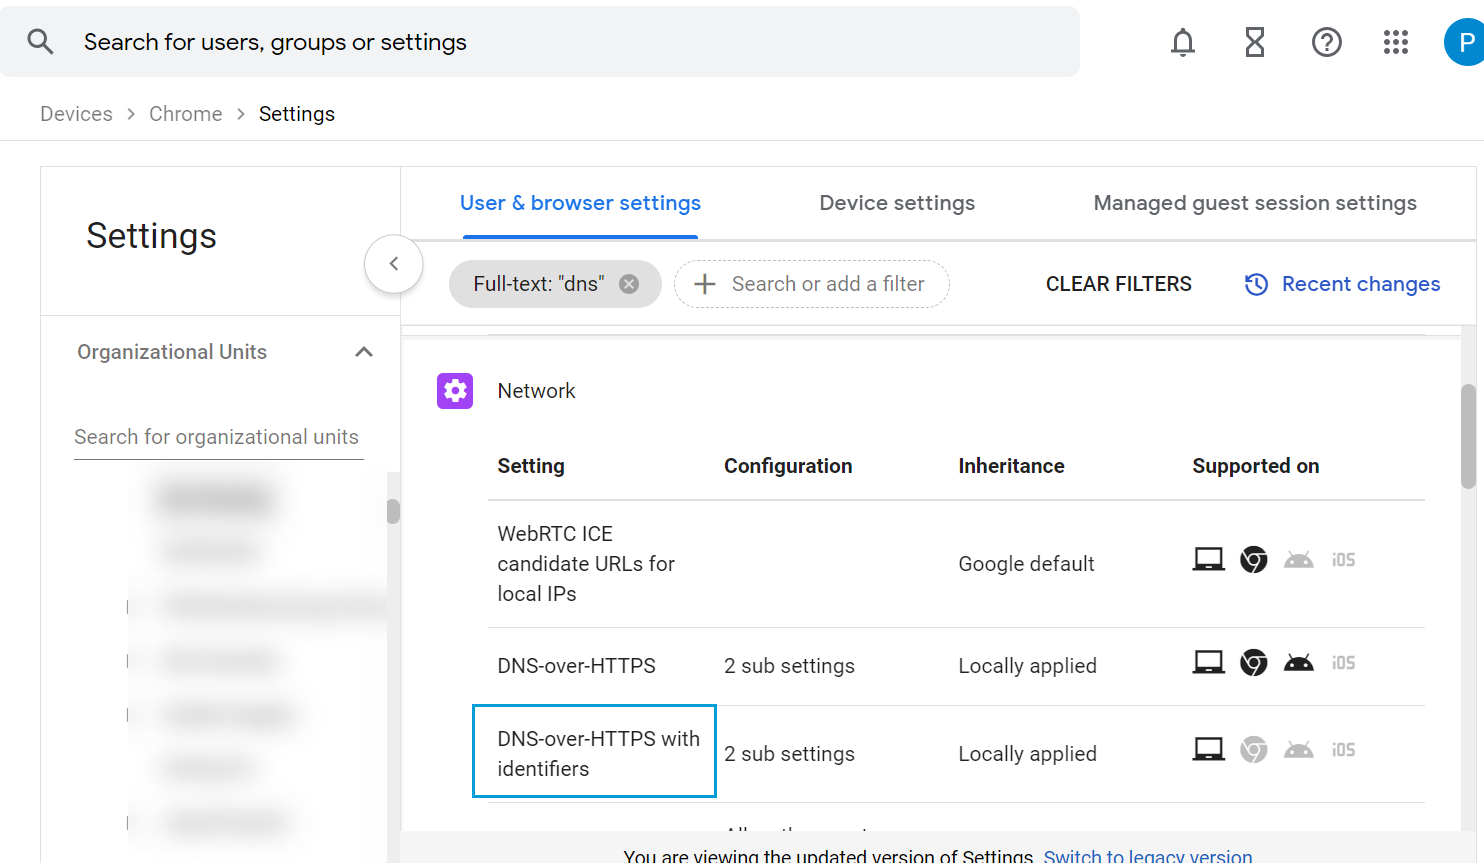
- Enter the URL of the Default DoH template that you copied from Secure Access.
- Enter the salt value that you copied from Secure Access.
- Click Save.

- From Apps & Extensions, navigate to Users & browsers > Organizational Units.
- Expand Organizational Units and choose the OU to which you want to deploy Cisco Security for Chromebook client.
- Click + and select Add from Chrome Web Store.
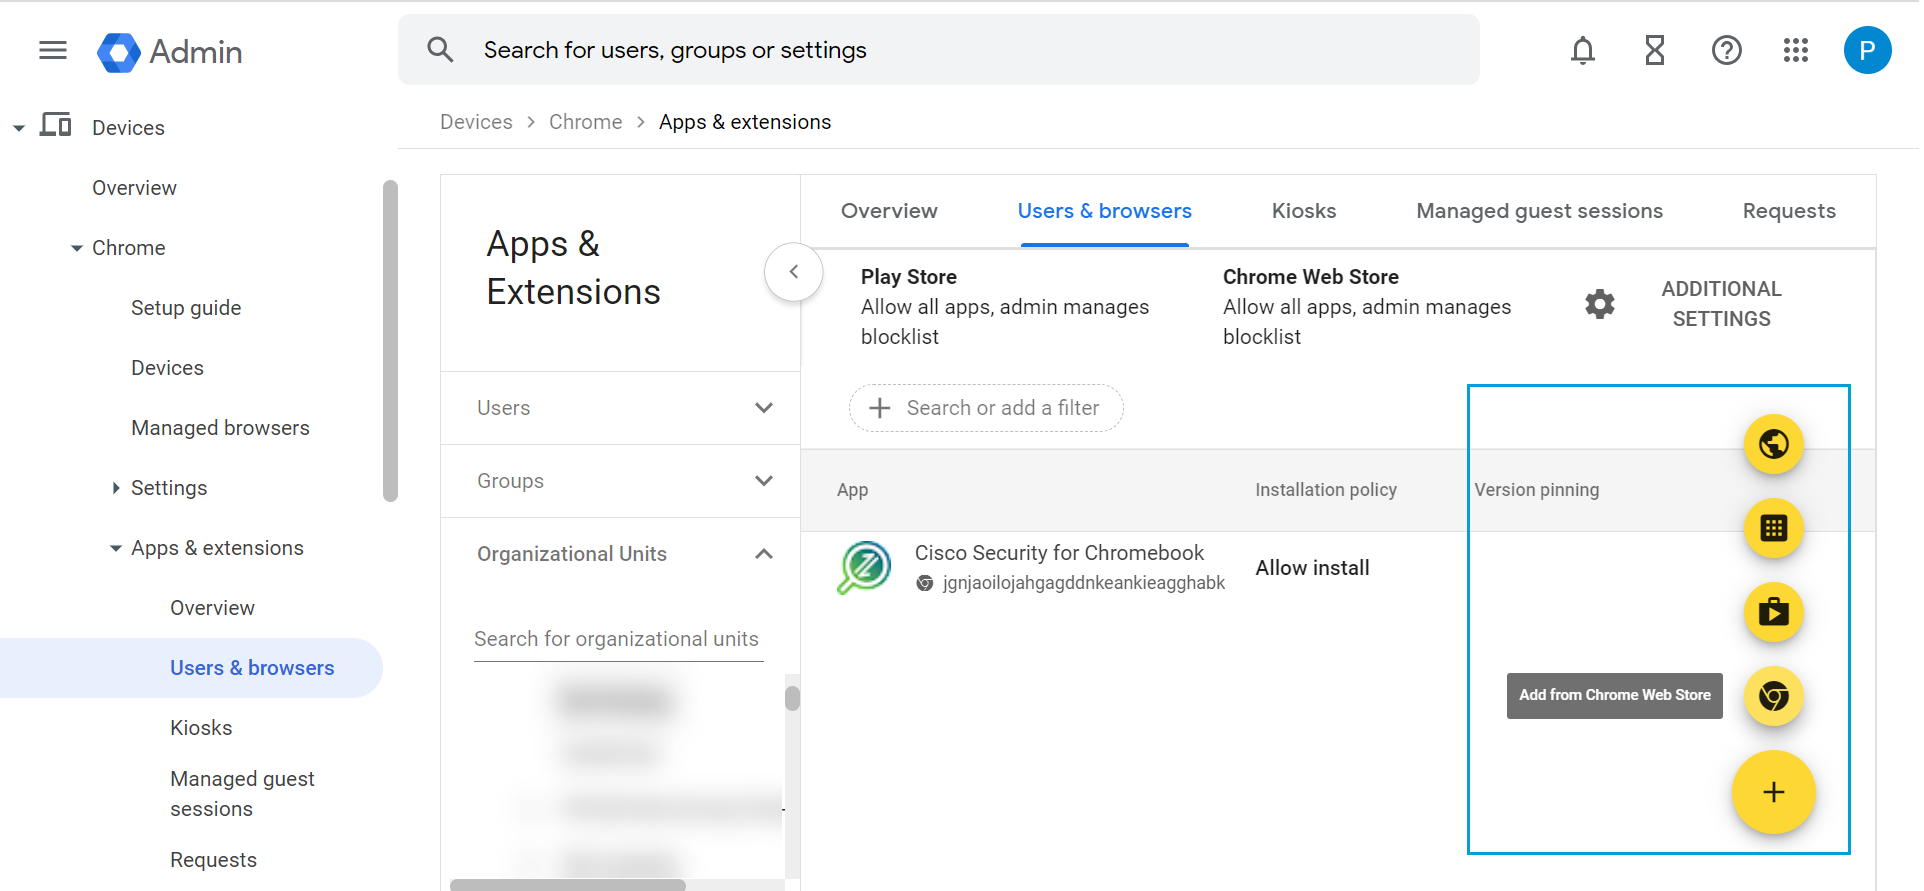
- In the Chrome Web Store, navigate to Extensions .
- Search for the Cisco Security for Chromebook client extension using the ID jgnjaoilojahgagddnkeankieagghabk.
Note: When copying and pasting the extension ID into the search field, ensure there are no spaces before or after it. This will help you locate the Cisco Security for Chromebook client extension.

- Click Select.
Result: The extension is added to the selected organization unit.
- For the JSON file you downloaded, click the Upload link to upload the file.
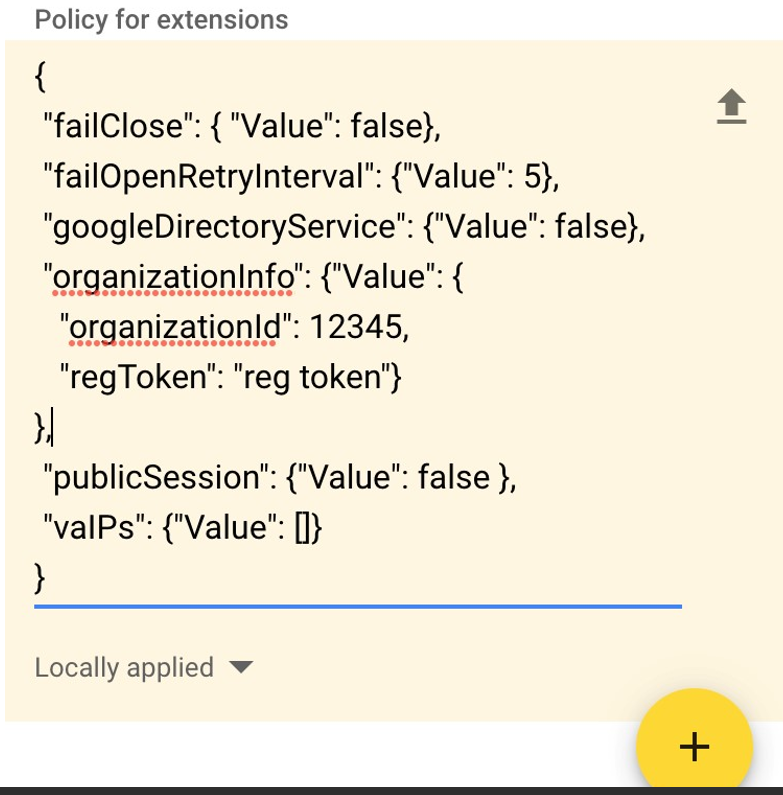
Note
The JSON configuration parameters googleDirectoryService and vaIPs apply only to the Umbrella Chromebooks client and **_not **_to the Cisco Security for Chromebooks client.
- Choose Force install.
- Click Save.
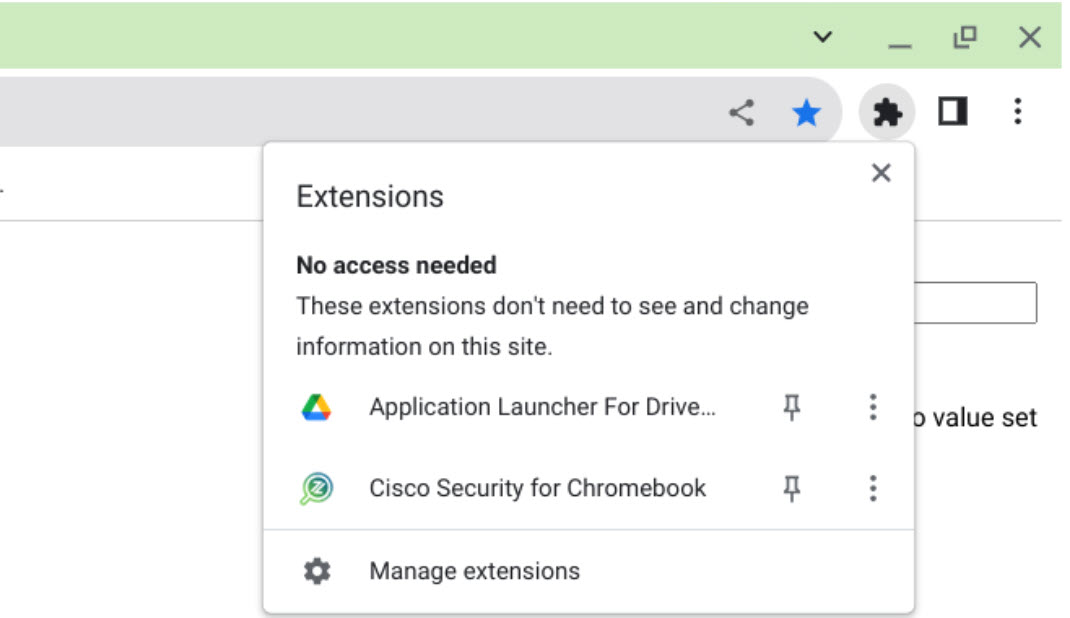
Result: The Cisco Security for Chromebook client extension is installed. Force install ensures that Chromebook users in the organization unit cannot remove or disable the extension. - Confirm that Cisco Security for Chromebook client is installed on the Chromebooks and that the old Umbrella Chromebook Client (app and extension) is blocked.
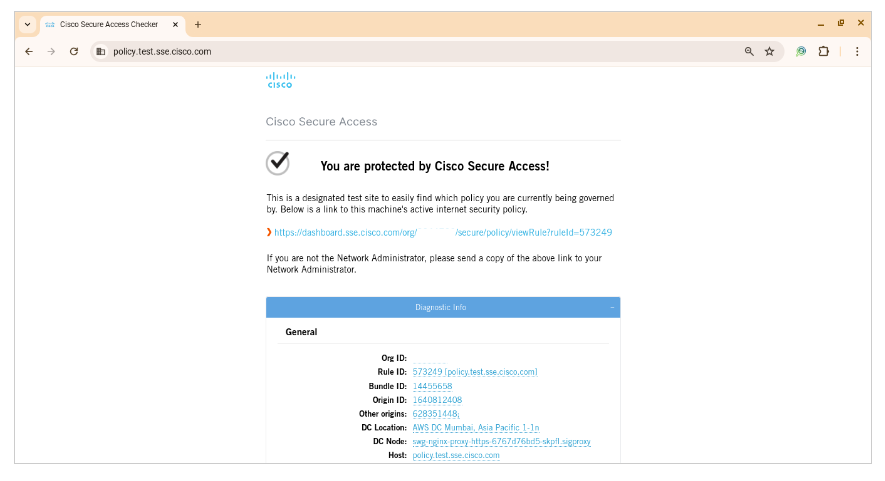
- To verify that a device is being protected by Secure Access, go to <https://policy.test.sse.cisco.com>
- A confirmation message displays.
Note: It may take Google up to 8 hours to push the Chrome extension to all your Chromebooks. After the client is installed in a Chromebook, allow a few hours for Chromebook traffic to appear in Secure Access (the Chromebook must be connected and signed in).
Integrate the Google Workspace Identity Service < Deploy the Cisco Security for Chromebooks Client > Bypass Internal Domain DNS Resolution
Updated 6 months ago