Enable Cloud Malware Protection for Box Tenants
Secure Access supports Cloud Malware protection for all files within your Box deployment.
Table of Contents
- Prerequisites
- Limitations
- Verify Box Application Settings
- Authorize a Tenant
- Edit a Tenant
- Revoke Authorization
Prerequisites
- Full Admin user role. For more information, see Manage Accounts.
- You must have the Box Admin role (not Co-Admin)
- Chrome or Firefox (recommended) with pop-up blockers and ad blockers disabled (only for the duration of authorization)
- Published and unpublished applications must be enabled in the Box Admin Console (see Verify Box Application Settings.
Limitations
- Secure Access supports Cloud Malware protection only for Box Enterprise accounts.
- A tenant that fails to authenticate cannot be deleted.
- Secure Access attempts to quarantine a file will fail if actions on the file have been blocked by settings in Box Shield policies. In such a case, the block placed by Box takes precedence over Secure Access’ ability to detect or remediate DLP violations or malware.
Verify Box Application Settings
- Log into the Box Admin Console.
- Navigate to Settings (the Gear icon) > Enterprise Settings > Apps.
- In the Global App Settings section:
- Do not check: Disable published third party apps by default.
- Check: Require web app integrations to user secure connections (SSL).

- Click Save.
Authorize a Tenant
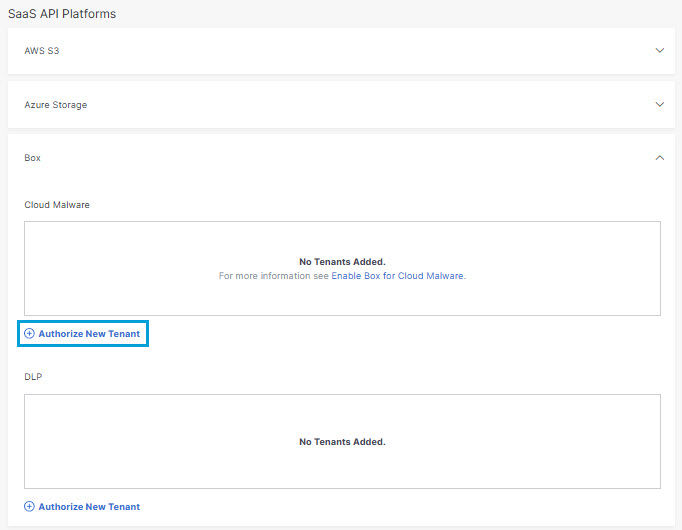
- Navigate to Admin > Authentication.
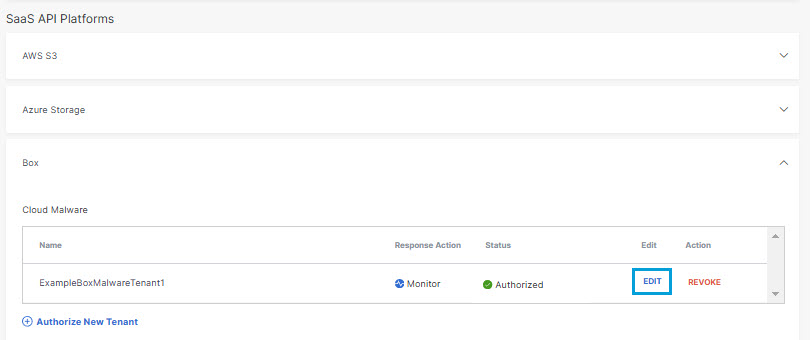
- Under SaaS API Platforms, click to expand Box.
- In the Cloud Malware section, click Authorize New Tenant to add a Box tenant to your Secure Access environment.
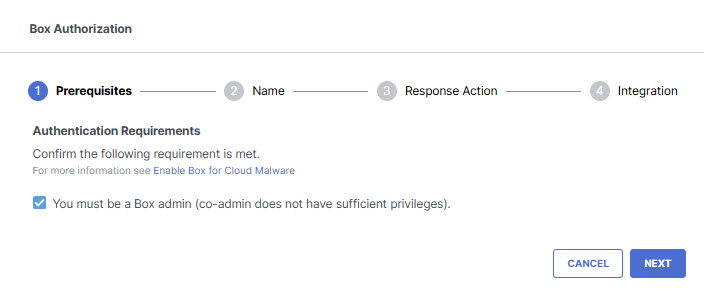
- In the Box Authorization dialog box, check the checkbox to verify you meet the prerequisites, then click Next.
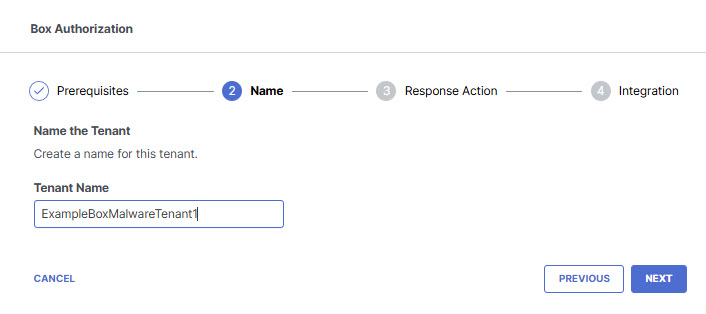
- Enter the tenant name, then click Next.
- Select a Response Action for Secure Access to apply to Box files found with malware and then click Next.
- Choose Monitor to cause Secure Access to log files detected with malware. You will be able to manually quarantine these files from the Cloud Malware report.
- Choose Quarantine to:
- Move the file into a folder named Cisco_Quarantine_Malware in the root path of the admin who authorized the tenant, remove all collaborators, and change the file owner to the Box admin.
- Replace the file in its original location with a text file named filename.ppt_Cisco_Quarantined.txt explaining to the original file owner that the file is identified as malware and for more information to contact their organization administrator.
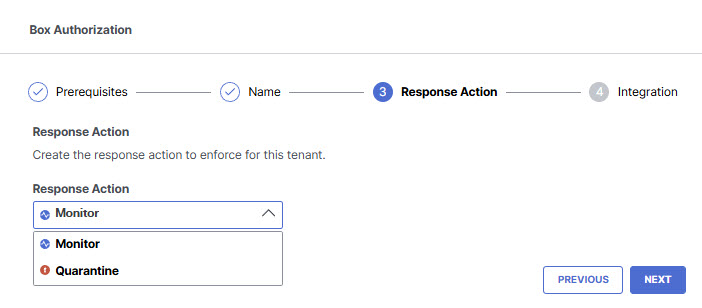
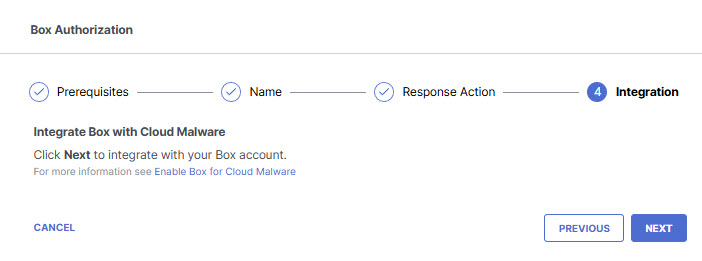
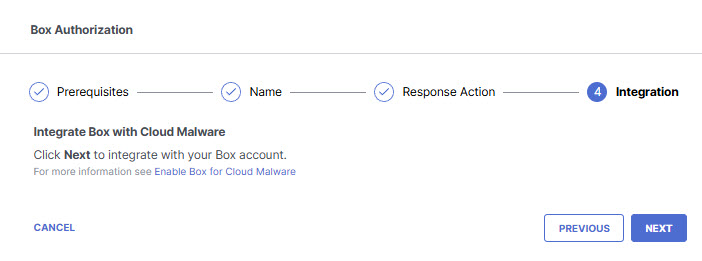
- Click Next to be redirected to the Box login page.
- Log in to Box with admin credentials to grant access.
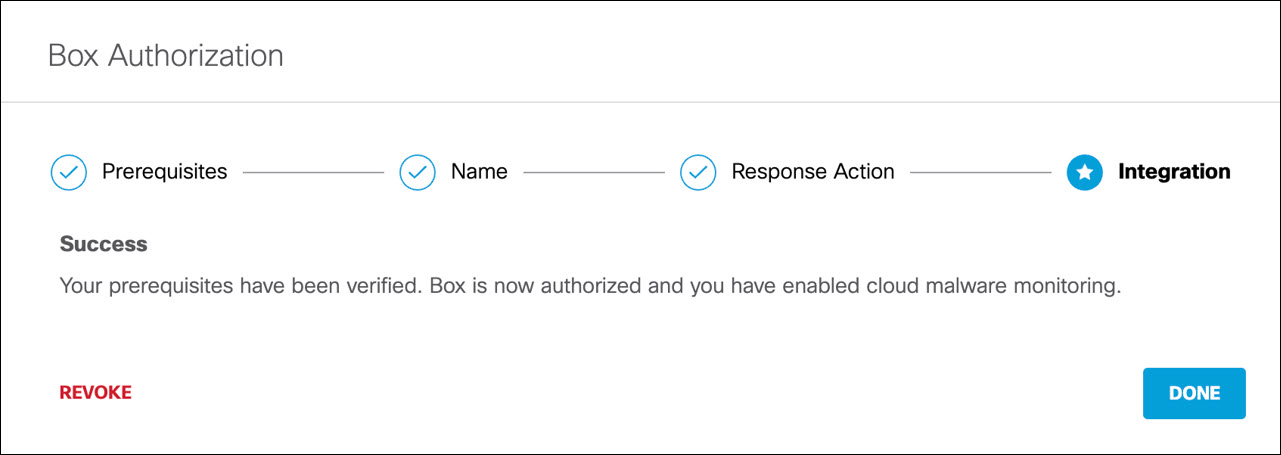
You are redirected to Secure Access and a message appears showing the integration was successful. It may be up to 24 hours for the integration to be confirmed and appear as Authorized.
- Click Done to complete.
Edit a Tenant
You can change the Response Action you have selected for a tenant.
- Navigate to Admin > Authentication.
- In the SaaS API Platforms section, click Box.
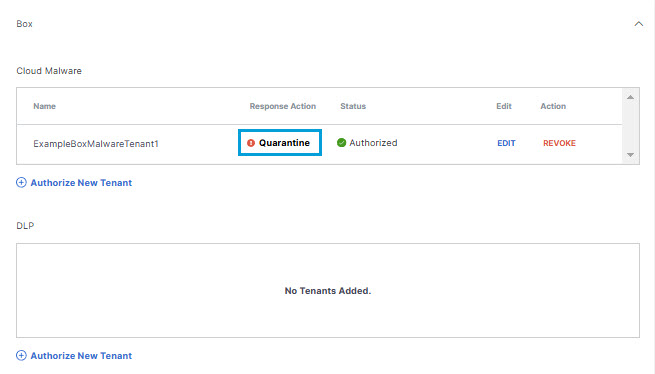
- In the Cloud Malware section , from the Edit column, click Edit. You can edit any tenant.
- Select a Response Action for Secure Access to apply to Box files found with malware and then click Next.
- Choose Monitor to cause Secure Access to log files detected with malware. You will be able to manually quarantine these files from the Cloud Malware report.
- Choose Quarantine to:
- Move the file into a folder named Cisco_Quarantine_Malware in the root path of the admin who authorized the tenant, remove all collaborators, and change the file owner to the Box admin.
- Replace the file in its original location with a text file named filename.ppt_Cisco_Quarantined.txt explaining to the original file owner that the file is identified as malware and for more information to contact their organization administrator.
- Click Next.
The new Response Action is displayed.
Revoke Authorization
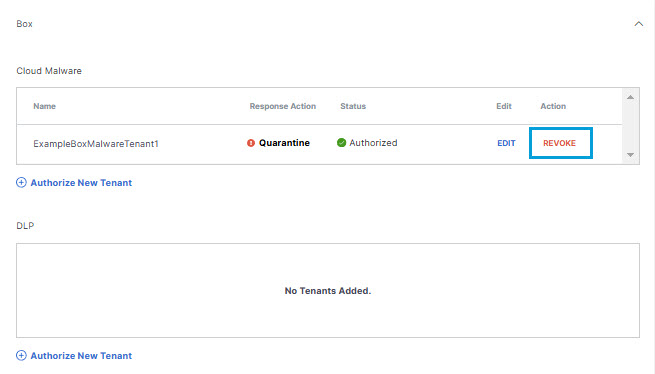
- Under Action, click Revoke. You can revoke any authorized tenant.
- Confirm to proceed. The selected account is no longer authorized.
Enable Cloud Malware Protection for Azure Tenants < Enable Cloud Malware Protection for Box Tenants >Enable Cloud Malware Protection for Dropbox Tenants
Updated 18 days ago

