Upload Custom PAC Files to Secure Access
You can create custom PAC files to manage web traffic on browsers. To bypass domains on the secure web gateway (SWG), add the bypass domains to the custom PAC files manually, and then upload the custom PAC files to Secure Access. Once uploaded, the custom PAC files are available on Secure Access for you to use in the organization's environment.
Secure Access supports IP-based domains. However, you must enter the IP in the browser’s address bar as the domain portion of the URL. For example, https://1.2.3.4/URLpath/. The PAC file does not resolve a domain to IP before matching an IP-based domain for bypass.
Table of Contents
- Prerequisites
- Requirements for Uploading Custom PAC Files in Secure Access
- Procedure
- Manage Uploaded Custom PAC Files
Prerequisites
- Full Admin user role. For more information, see Manage Accounts.
- To download the Secure Access PAC file or custom PAC files on a user device in the organization, the device must either:
- Connect to Secure Access on a Registered Network or Network Tunnel, or
- Deploy the Cisco Secure Client with the Umbrella Roaming Security module on the user device.
For more information, see Manage PAC Files.
Requirements for Uploading Custom PAC Files in Secure Access
- You can upload a maximum of five custom PAC files in Secure Access.
- The custom PAC file is 256KB or less.
- The custom PAC filename is unique in Secure Access.
- The custom PAC filename is case sensitive.
- The custom PAC filename can include alphanumeric characters, hyphens, and underscores.
- The custom PAC file has the .pac extension.
Procedure
Upload your custom PAC Files to Secure Access.
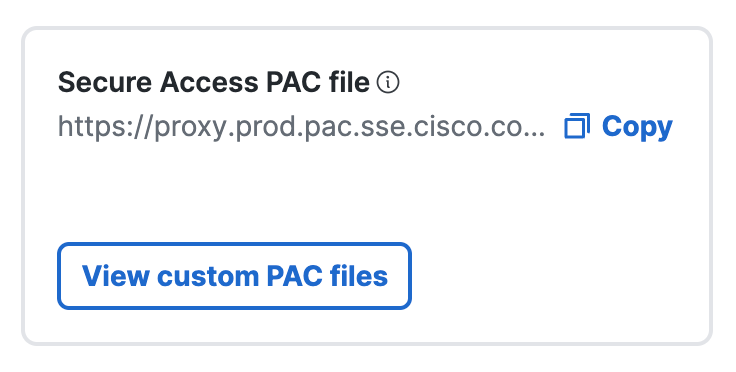
- Navigate to Connect > End User Connectivity > Internet Security, and then click View custom PAC files.
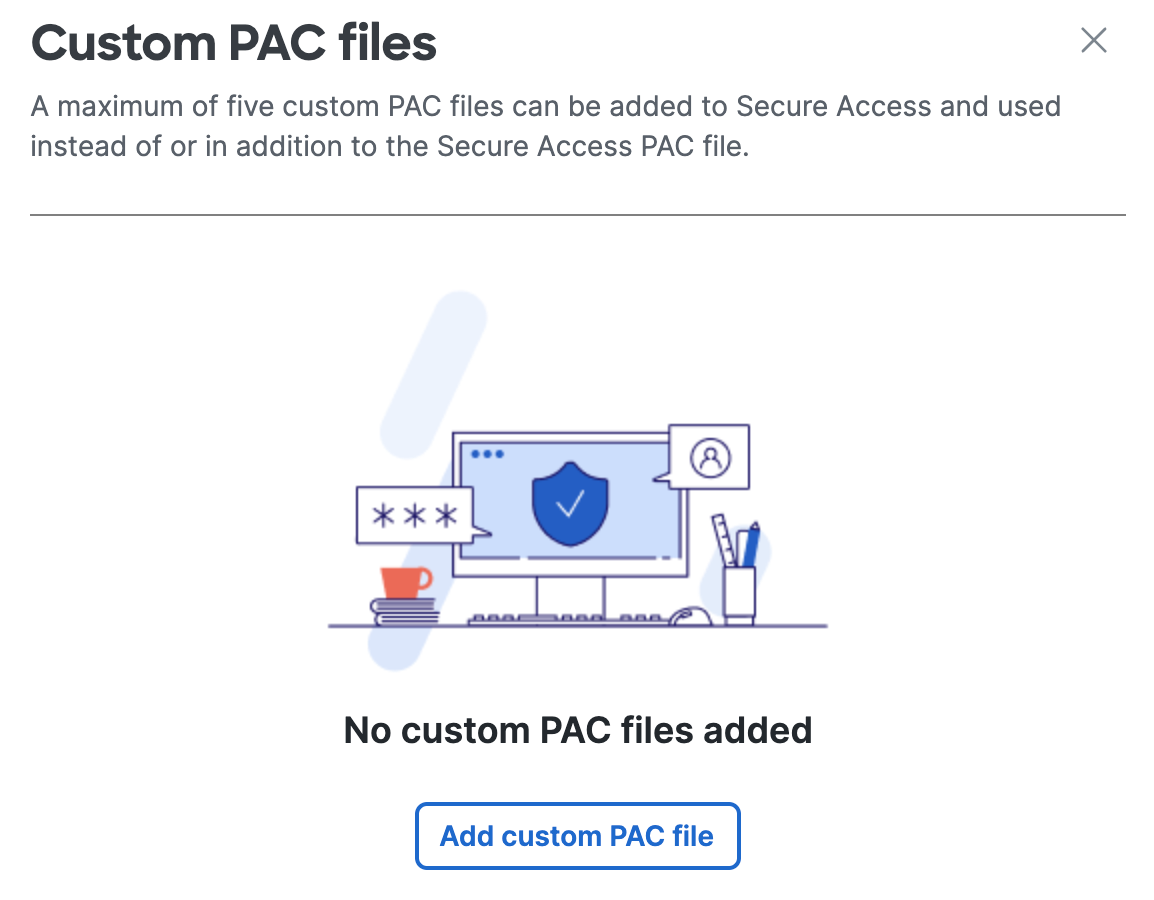
- From Custom PAC Files, click Add custom PAC file.
-
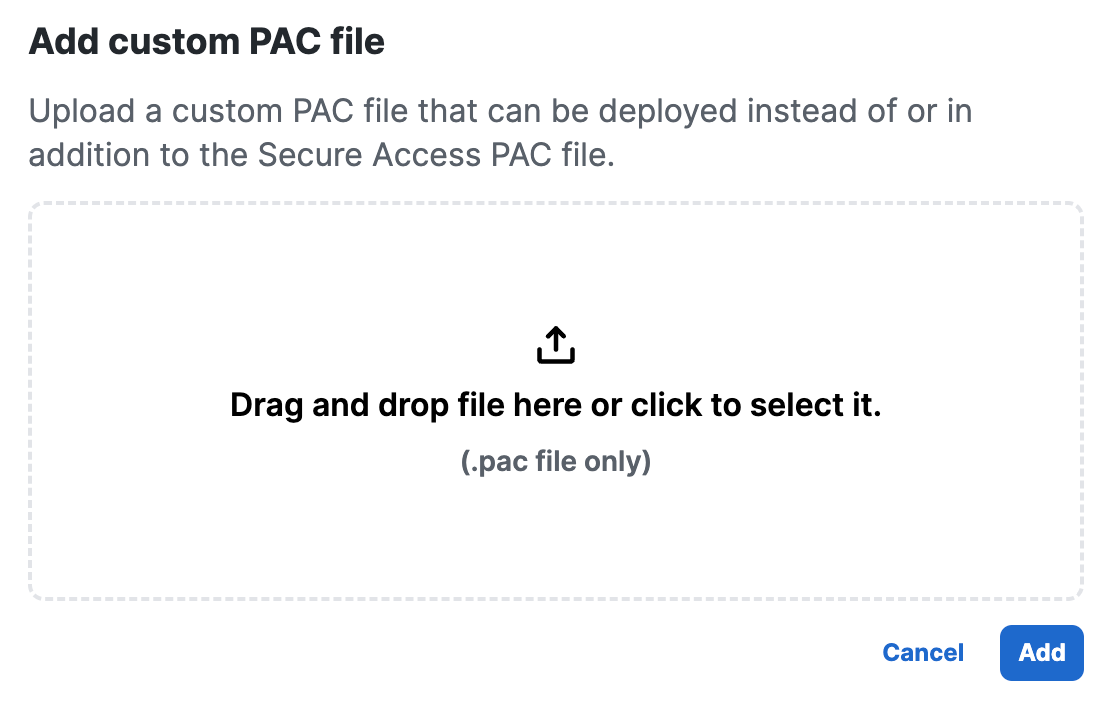
Drop your custom PAC file in Secure Access or click on the text area to select a custom PAC file from your local system. For information about requirements for uploading custom PAC files, see Requirements for Uploading Custom PAC Files in Secure Access.
-
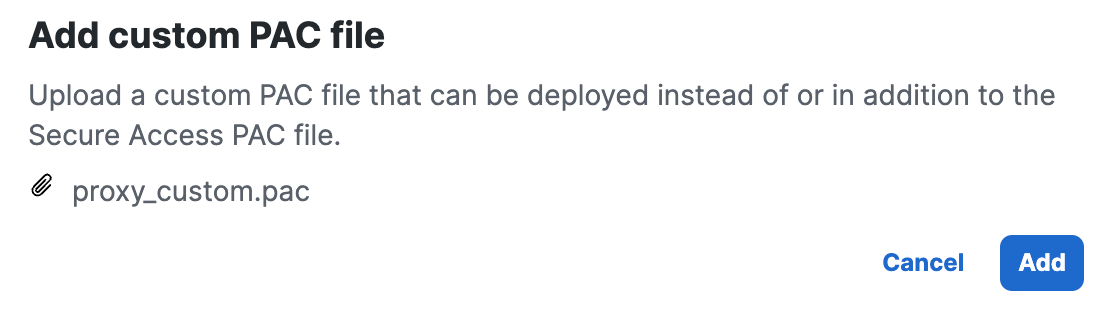
After you upload your custom PAC file, click Add.
Uploading Custom PAC File and Error Conditions
-
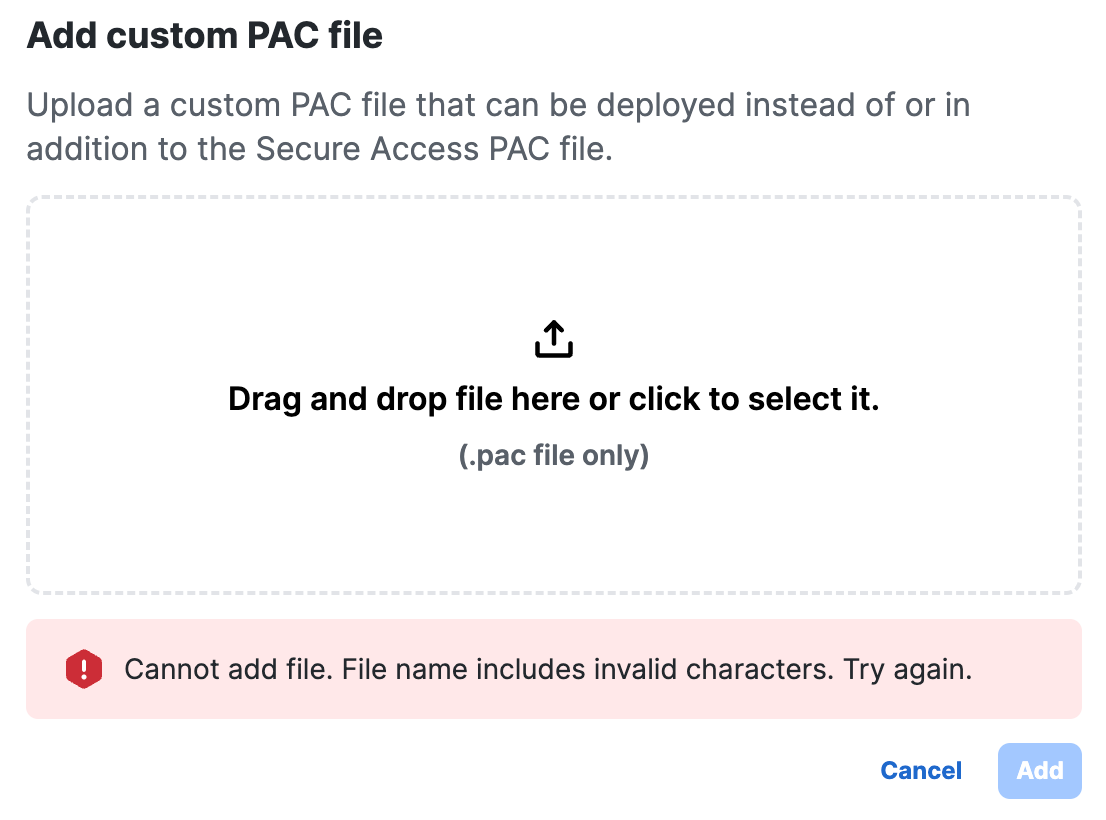
If you upload a file that has an invalid filename, Secure Access displays an error message.
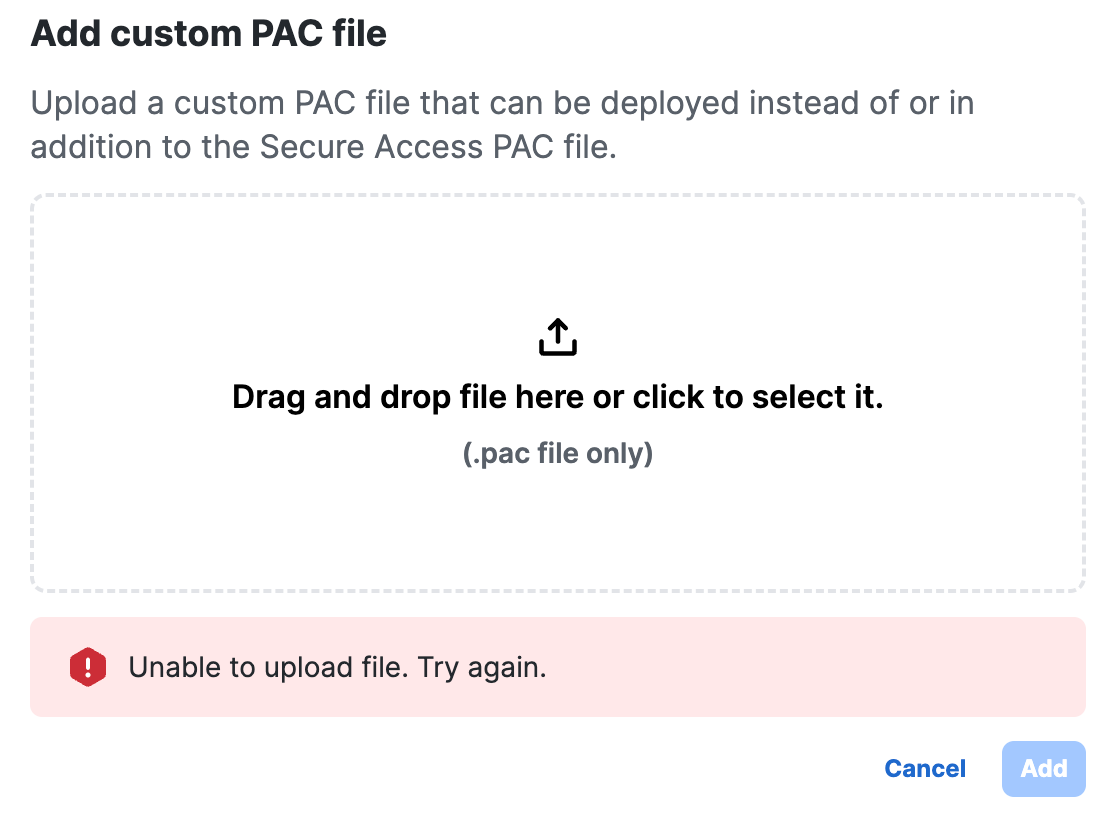
- If you do not upload a file and click Add, Secure Access displays an error message.
Manage Uploaded Custom PAC Files
You can view the uploaded custom PAC files, get the URL for a custom PAC file, replace the contents of the custom PAC file, or rename the custom PAC file in Secure Access.
View Custom PAC Files in Secure Access
-
Navigate to Connect > End User Connectivity > Internet Security.
-
Click View the custom PAC files.
-
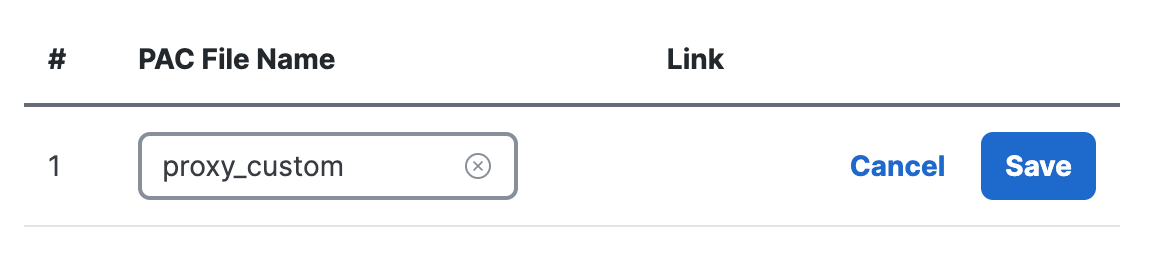
# (pound sign)— The number of the custom PAC file.
-
PAC File Name—The name of the custom PAC file.
-
Link—The link to the URL for the custom PAC file.

-
Copy URL for Custom PAC File
-
Navigate to Connect > End User Connectivity > Internet Security.
-
Click View the custom PAC files.
-
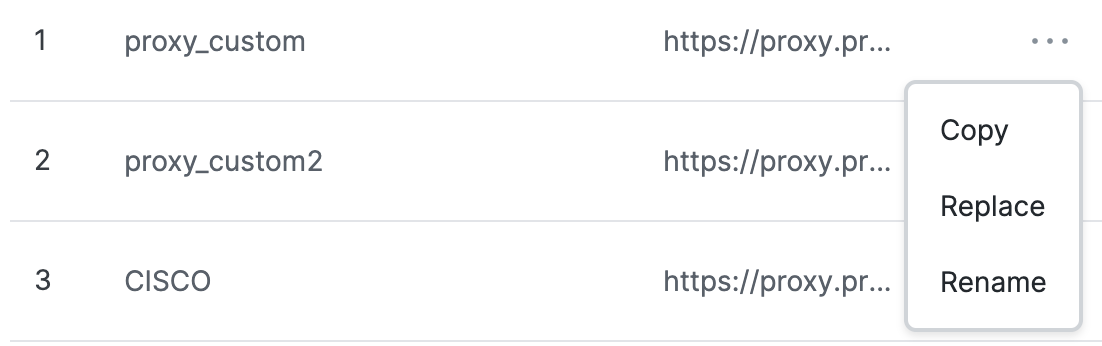
Navigate to a custom PAC file, and then click the ellipsis (...).

-
Click Copy, and then copy the URL for the custom PAC file.
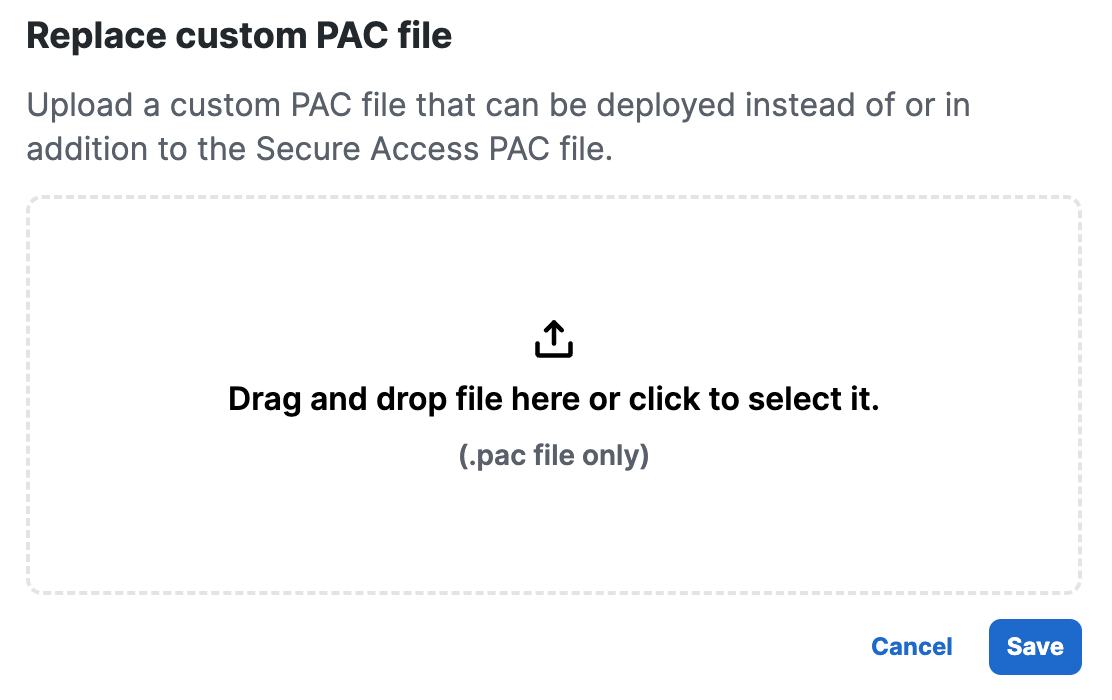
Replace Custom PAC File
- Navigate to Connect > End User Connectivity > Internet Security.
- Click View the custom PAC files.
- Navigate to a custom PAC file, and then click the ellipsis (...).
- Click Replace, upload another custom PAC file for this filename, and then click Save.
Rename Custom PAC File
-
Navigate to Connect > End User Connectivity > Internet Security.
-
Click View the custom PAC files.
-
Navigate to a custom PAC file, and then click the ellipsis (...).
-
Click Rename, enter another filename for the custom PAC file, and then click Save.
Customize the Secure Access PAC File < Upload Custom PAC Files to Secure Access > Manage Proxy Chaining
Updated 6 months ago