Manage DDNS Servers
When end-user devices connect to secure access using the VPNaaS, it is assigned an IP from an IP pool. When the device disconnects and reconnects the VPN, the IP address can change. If the device needs to be reachable using a fully qualified domain name (FQDN), the IP address change can cause the DNS server resource records (RRs) to become stale.
Dynamic DNS (DDNS) provides a mechanism to update DNS RRs whenever the IP address or hostname changes. Add DDNS servers to ensure that changing IP addresses for devices (especially those on dynamic IPs) are automatically updated to provide consistent, reliable access to resources without manual intervention.
When adding these DDNS servers, DDNS Server 1 resolves before DDNS Server 2. Provide DDNS servers that could resolve both IPv4 and IPv6 if applicable. You can also use DDNS for static IP addressing.
Table of Contents
- Prerequisites
- About Configuring DDNS Servers
- Add a DDNS Server Group
- View DDNS Server Groups
- Edit a DDNS Server Group
Prerequisites
- Full Admin user role. For more information, see Manage Accounts.
About Configuring DDNS Servers
Add a DDNS Server Group
The following procedure describes how to add a DDNS server group managed by Secure Access.
- Navigate to Connect End User Connectivity, click Manage Servers and choose DDNS Servers.

-
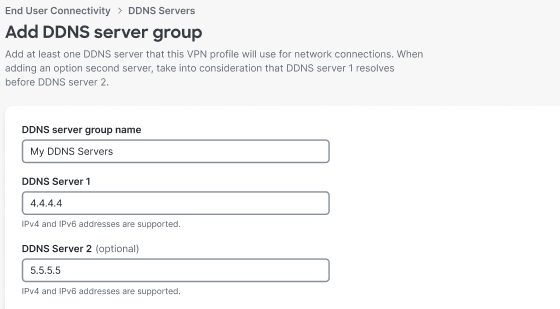
Click + Add.
-
Enter a label for the DDNS server group name; for DDNS Server 1 provide the IP address of the primary DDNS server. If you have a secondary DDNS server, add an IP address for DDNS Server 2.
-
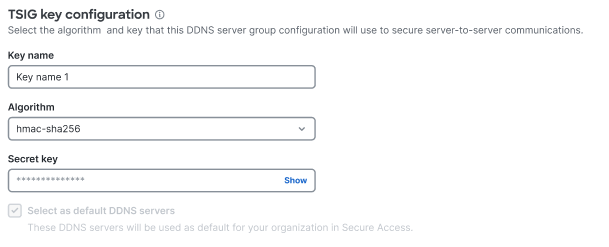
Enter the TSIG key configuration for this DDNS server group. Enter a label for the Key name and select the Algorithm to use, and the enter the Secret key.
TSIG (transaction signature) key configuration (defined in RFC 2845) enables the DNS to authenticate updates to a DNS database. It is most commonly used to update Dynamic DNS or a secondary DNS server.
- Click Save.
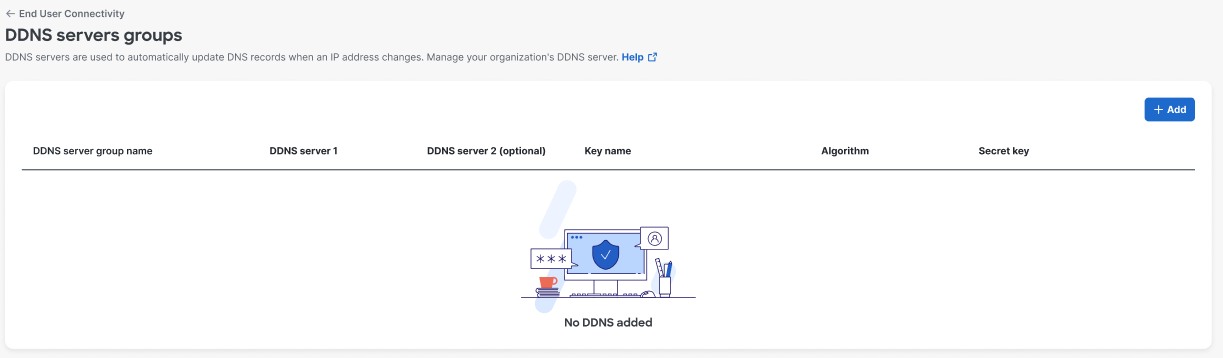
View DDNS Servers
You can view the DDNS servers that are configured for your organization. Your DNS traffic routes through the DDNS servers managed by Secure Access.
- Navigate to Connect > End User Connectivity, click Manage Servers and choose DDNS Servers.

- The list of configured DDNS servers is displayed.

- From the list you can click Add to add a new entry, or click the edit icon to Edit or the trash can icon to Delete a DDNS server group entry.
- Click Close to dismiss the list.
Edit a DDNS Server
You can edit the attributes for a DDNS server group entry.
- Navigate to Connect > End User Connectivity, click Manage Servers and choose DDNS Servers.

- Click the Edit icon for a DDNS server entry.
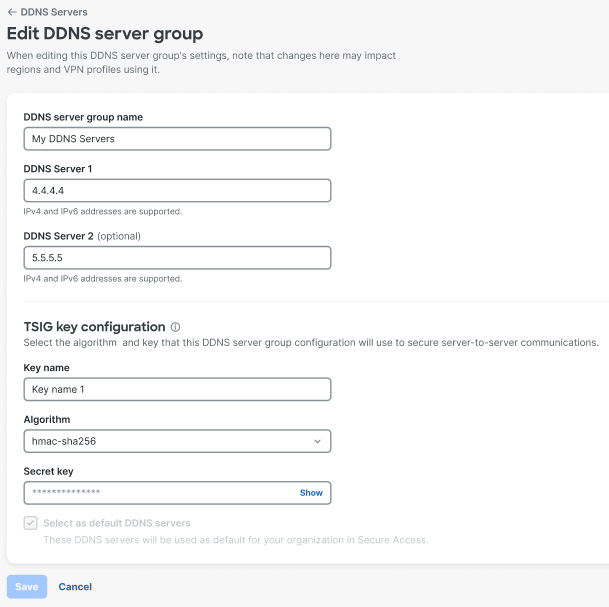
- You can modify the label for the DDNS server group in the DDNS server group name field as well as modify the IP address of the primary and secondary DDNS servers as needed for DDNS Server 1 and DDNS Server 2.
- Click Save.
Map DNS Servers to Regions < Manage DDNS Servers > Map DDNS Servers to Regions
Updated 4 months ago