Create Custom Block and Warn Pages
Instead of showing end users the default block or warn message with the Secure Access logo, you can display your own logo, custom Block and Warn messages, and an option to contact an administrator. You can also display different pages depending on the reason for the block.
You can create a custom Block page and a custom Warn page as a set, and then choose them in security profiles for internet access.
Table of Contents
- Prerequisites
- Create Custom Block and Warn Pages
- Link a Custom Notification Page Appearance to a Security Profile
- Next Steps
Prerequisites
- Full Admin user role. For more information, see Manage Accounts.
- Gather your logo, help desk email address, and any other information you want to provide.
- If you use a custom logo, Secure Access notification pages support PNG and JPEG.
Images larger than 125x70 pixels will be cropped and resized.
Create Custom Block and Warn Pages
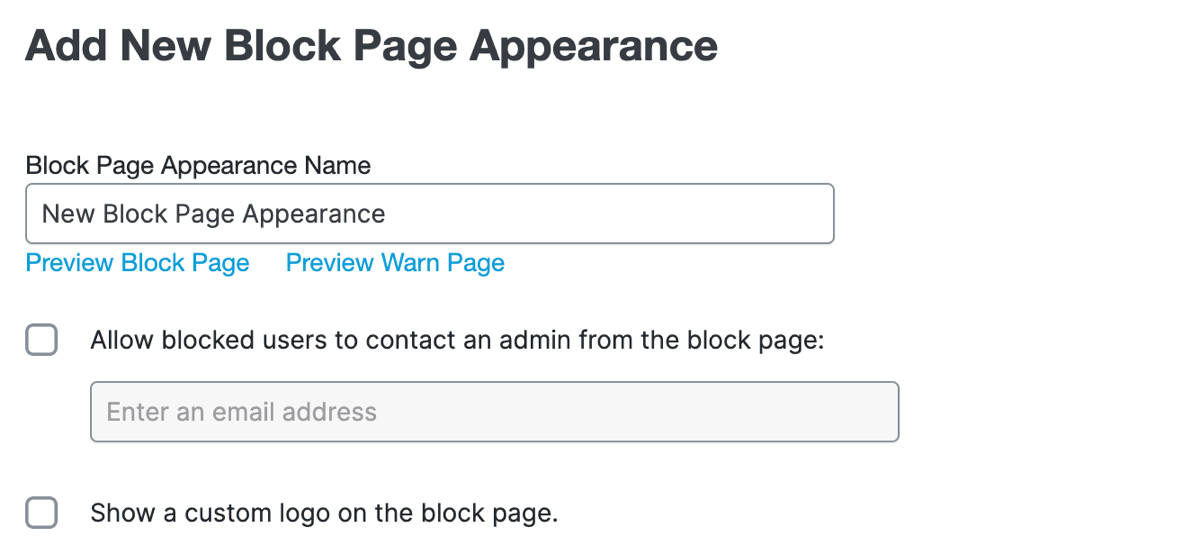
- Navigate to Secure > Settings > Notification Pages.
- Click +Add, or expand the setting you want to edit.
The settings on the page are optional.

-
If this is a new configuration, name this set of notification pages.
-
Click Allow blocked users to contact an admin from the block page.
If you want to allow end users to contact an administrator from a block message, provide the email address that will be used to forward user messages. For more information, see Allow Users to Contact an Administrator. -
Click Show a custom logo on the block page.
Secure Access notification pages support PNG and JPEG. Images larger than 125x70 pixels will be cropped and resized.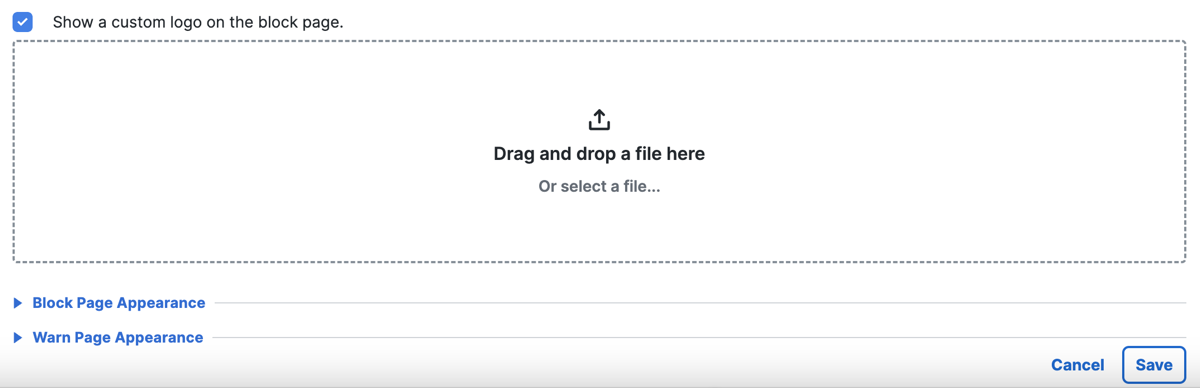
-
Expand Block Page Appearance.
a. If you want to display a unique message based on the reason for the block, click Differently and click a Block reason.
b. Click Show a block page with a custom message.
c. Specify your custom message.
You can adjust the size of text, as well as bold, italicize, underline, or strikethrough it. You can also add hyperlinks, numbered lists, and bulleted lists.
You can also use the following variables within your message.
- [domain]—Substitutes the domain name that the end-user tried to browse to.
- [client_ip]—Substitutes the external IP address of the client that is hitting the block page.
-
Expand Warn Page Appearance.
a. Click Show a warn page with a custom message.
b. Specify your custom message, using the same guidelines as for a custom block message. -
Preview your notification pages:
a. Scroll to the top of your configuration.
b. Click the Preview Block Page or Preview Warn Page links.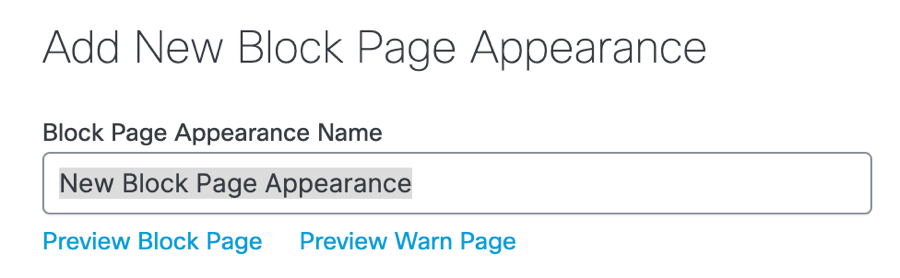
-
Click Save.
Link a Custom Notification Page Appearance to a Security Profile
- Navigate to Secure > Security Profiles and expand the profile you'd like to link.
- Under End-User Notifications click Edit for Notification Pages.
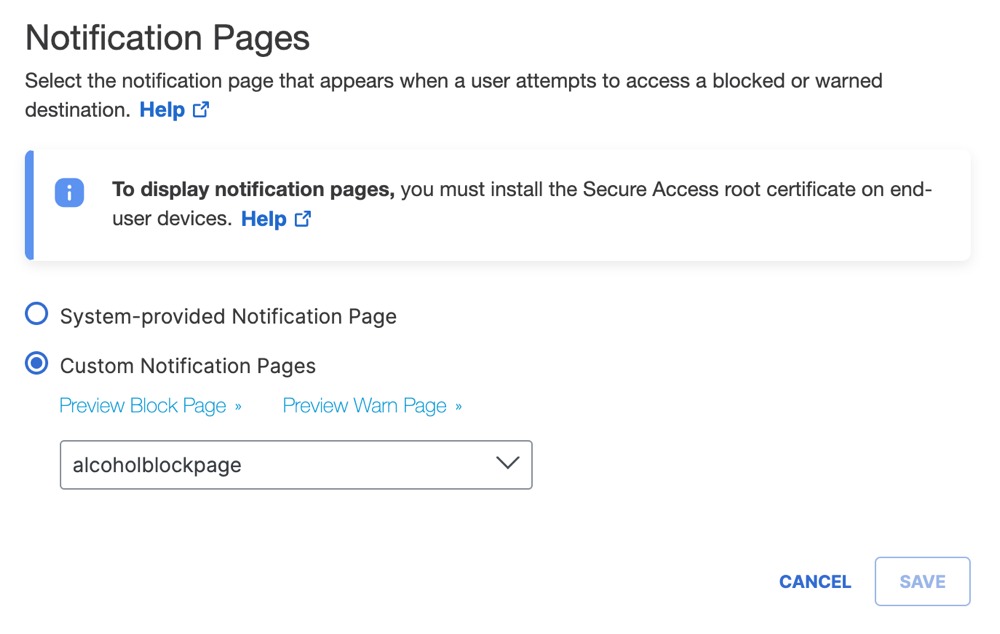
- Choose Custom Notification Pages, and then choose the notification page appearance to get the set of block and warn pages.
- Click Save.
Next Steps
Complete the remaining requirements described in Manage Notification Pages.
Preview Notification Pages < Create Custom Block and Warn Pages > Allow Users to Contact an Administrator
Updated 6 months ago