Deploy a Connector in Docker
Cisco Secure Access supports several methods to deploy Resource Connectors in on-premises or cloud environments. A Resource Connector is a lightweight service that manages the network communications for a private resource. The private resource is configured and managed by the organization.
This guide describes how to deploy a Resource Connector in a Docker container using the Secure Access Docker container image.
Table of Contents
- Prerequisites
- Deployment Guidelines
- Procedure
- View the Deployed Resource Connectors in Secure Access
- Troubleshoot Container Deployments
Prerequisites
-
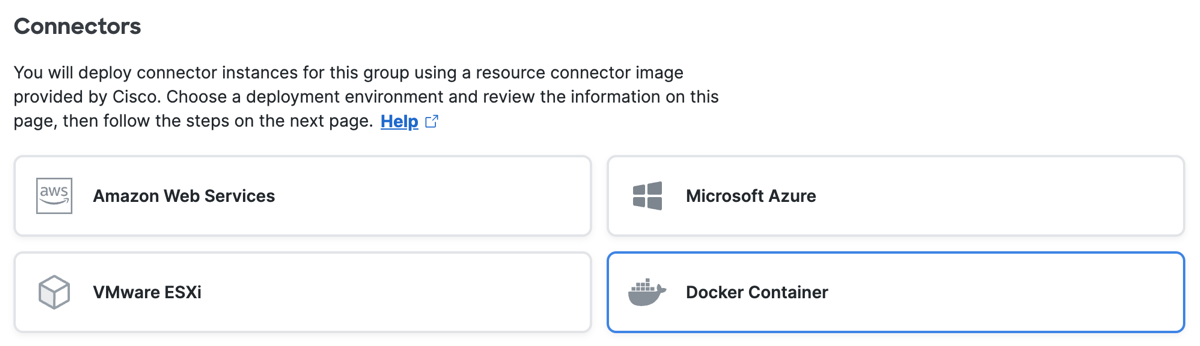
Create a Resource Connector Group with the Docker Container type. For more information, see Add Resource Connector Groups.
-
Copy the provisioning key for the resource connector group where you are deploying the connectors. You must have the provisioning key for the resource connector group when deploying the connector instances. For more information, see Provisioning Keys for Resource Connectors.
Deployment Guidelines
- Dedicate a virtual machine (VM) or bare metal host for the resource connector.
- You can launch only one Resource Connector instance for each VM or bare metal environment.
- The VM or bare metal environment must have a single network interface. Secure Access does not support multiple network interfaces.
Host or VM Requirements
- CPU—At least two vCPUs.
- Memory—4GB.
- Disk space—8GB.
- Network—A single network interface on the host or VM.
Supported Host OS
Secure Access supports Ubuntu Server LTS 22.04 x64 only on the host machine.
Important: When you install the supported OS on the host machine, do not install Docker on the host. The Secure Access setup script (setup_connector.sh) installs Docker and the resource connector software packages. For more information about the Secure Access setup script, see Set Up the Resource Connector and Container.
Procedure
- Set Up the Resource Connector and Container—Run the set up script for the resource connector.
- Launch the Resource Connector in the Docker Container—Launch the Docker container that runs the instance of the resource connector.
Set Up the Resource Connector and Container
Note: On the host, Secure Access supports running one Docker container.
To begin, get the Secure Access Resource Connector setup script (setup_connector.sh). Then, set the permissions on the script and run the script.
The setup_connector.sh script downloads the scripts and configuration files that are required to set up and run the resource connector in the Docker container. The setup_connector.sh script saves the scripts and configuration files in the /opt/connector/install directory.
- Log into the host or VM with a user that has sudo permissions.
- Run
curlto get the Secure Access Resource Connector setup script (setup_connector.sh).curl -o setup_connector.sh https://us.repo.acgw.sse.cisco.com/scripts/latest/setup_connector.sh - Set the permissions on the script.
chmod +x setup_connector.sh - Run the
setup_connector.shscript.sudo ./setup_connector.sh
For information about error conditions that may occur when you set up of the resource connector, see Troubleshoot Container Deployments – Setup Failures.
Launch the Resource Connector in the Docker Container
Important: You can launch one Resource Connector instance only in a host or VM.
Run the connector.sh script to deploy the resource connector in the Docker container. You can also use the connector.sh script to start and stop the resource connector.
Set the name of the resource connector with the connector_name variable. connector_name accepts a sequence of 1–40 alphanumeric characters , and the minus sign (-) or underscore (_) characters.
The connector.sh script sets up a service in the /etc/service/connector_svc directory. If the Docker container stops, the connector.sh service relaunches the container with the resource connector automatically.
- Log into the host or VM with a user that has sudo permissions.
- Run the connector.sh script.
Provide the name of the Resource Connector (connector_name) and the provisioning key (provisioning_key) for the Resource Connector Group that includes the resource connector.sudo /opt/connector/install/connector.sh launch --name <connector_name> --key <provisioning_key> - Sign into Secure Access and confirm that the Resource Connector deployed.
The resource connector that is deployed in the Docker container should provision and then display in Secure Access. For more information, see Add Connectors to a Connector Group: Confirm Connectors.
Important: If you provide an incorrect provisioning key for the Resource Connector Group, the Docker container will start, but the resource connector will not be able to provision and register with Secure Access. If this occurs, we recommend that you delete the Docker container and deploy the connector again.
View the Deployed Resource Connectors in Secure Access
After you deploy the Resource Connector with Docker, you can view and manage the resource connectors in Secure Access.
-
Navigate to Network Connections > Connector Groups, and then click on a connector group in the table.
-
For the connector group, navigate to one of the connectors in the Connectors table.

-
For the connector, navigate to the Version column in the table and hover over the icon to display the version information for the connector and container image.
-
Installed Connector Version—The version of the Secure Access resource connector software.
-
Installed OS Version—The version of the base OS on the Docker container image.

-
For more information, see View a Connector Group's Connectors and Assigned Resources.
Troubleshoot Container Deployments
- Setup Failures
- Check the Container's Status—Verify the status of the container.
- Get the Version of the Docker Container Image—Get the version of the running container image.
- Stop the Container—Stop the container.
- Restart the Container—Restart the container.
- Delete the Container—Remove the container.
- Run Diagnostic and Techsupport Scripts—Run the diagnostic and techsupport scripts to gather information about the deployed container.
Setup Failures
If error conditions occur when you set up the connector with Docker, verify that you can access the destinations to download and install the required software packages and files. For more information, see Connectivity Issues.
Also, before you run the connector setup script, you may have to authenticate with Docker. For more information, see Rate Limit with Docker Pull.
Rate Limit with Docker Pull
The setup_connector.sh script runs docker pull without authentication to download the connector image from Docker Hub, which is rate limited. If you encounter a rate limit error when you run setup_connector.sh, Docker returns this error message:
You have reached your pull rate limit. You may increase the limit by authenticating and upgrading …
When the Docker rate limit error occurs, we recommend that you authenticate with Docker, and then run the setup_connector.sh script again. To authenticate with Docker, run:
sudo docker login
Connectivity Issues
The setup_connector.sh script installs the required host packages and downloads the scripts to manage the connector.
Ensure that the host has connectivity to these destinations and can download the required scripts and files:
- https://github.com—Access to this site is required only for downloading the Sigstore cosign binary during the connector setup. Secure Access uses cosign to verify the container image. You do not need access to the GitHub site when you run the connector, only for the setup of the connector in the container.
- https://us.repo.acgw.sse.cisco.com
- Docker Hub—For more information, see Allow Resource Connector Traffic to Secure Access.
- Ubuntu packages—Configure the host or VM correctly to support the installation of the Ubuntu packages, repo mirror, or locally mounted DVD image.
Check the Container's Status
- Log into the host machine with a user account that has sudo access.
- Run the Docker
pscommand to show the status of all containers.
sudo docker ps -a
Get the Version of the Docker Container Image
- Log into the host machine with a user account that has sudo access.
- Run the Docker
pscommand to list the running Docker containers and format the output with the value of.Image.
sudo docker ps --format '{{.Image}}'
Stop the Container
- Log into the host machine with a user account that has sudo access.
- Run the connector.sh script with the
stopcommand to stop the container.
sudo /opt/connector/install/connector.sh stop
Restart the Container
- Log into the host machine with a user account that has sudo access.
- Run the connector.sh script with the
startcommand to restart the container.
sudo /opt/connector/install/connector.sh start
Delete the Container
-
Delete the container and persistent datastore.
a. Log into the host machine with a user account that has sudo access.
b. Run the connector.sh script with thestopcommand and--destroyflag to delete the container and persistent datastore.sudo /opt/connector/install/connector.sh stop --destroy -
Sign into Secure Access and remove the Resource Connector. For more information, see Disable, Revoke, or Delete Resource Connectors and Groups.
About the Diagnostic and Techsupport Scripts
The diagnostic script runs a series of ping and DNS tests on the local IP address, gateway, Secure Access APIs, and headend IP addresses. The script also checks connectivity on HTTPS ports to various Secure Access endpoints, along with system artifacts created through the connector instance provisioning process.
The techsupport script displays the following information:
- Version of the resource connector software.
- VPN tunnel state and related information.
- System monitoring metrics, such as disk and memory statistics.
- Information snapshot of the connector host, from DNS to Network interface details, iptables, routes, sysctl system settings, and monitoring information.
- Recent periodic resource connector software logs.
Run Diagnostic and Techsupport Scripts
Run the diagnostic or techsupport scripts to troubleshoot the resource connector in the container.
- Log into the host machine with a user account that has sudo access.
- Run the diagnostic and troubleshooting scripts.
a. For the diagnostic script, run:
/opt/connector/data/bin/diagnosticb. For the techsupport script, run:
sudo /opt/connector/data/bin/techsupport
Deploy a Connector in Azure < Deploy a Connector in Docker > Determine the Number of Connectors Needed in a Connector Group
Updated 21 days ago