draft-kb-done-Manage Notification Pages (COPY)
You can configure Cisco Secure Access to display a notification page to users that request internet destinations. Secure Access shows a notification page when:
- A destination is blocked by an internet access rule that has certain configurations in a Security profile. In this case, Secure Access displays a Block page.
- A destination matches an internet access rule that is configured with the Warn action. In this case, Secure Access displays a Warn page.
Configure Secure Access to display the default notification page or a custom notification page. You can create one or more custom notification pages to display in different situations. Each Security profile for internet access is associated with the configuration of a single notification page that includes both Block and Warn pages.
Note: The notification pages described in this section do not apply to private access rules in the Access policy. For information about private access rules, see Manage Private Access Rules.
Table of Contents
- View Notification Pages Displayed to End Users
- Display Custom Notification Pages to End Users
- About Warn Pages for Internet Access Traffic
- Warn Page: Click Link and Continue to Destination
- Warn Page: Enter Key Word and Continue to Destination
View Notification Pages Displayed to End Users
In Secure Access you can view the default notification page and any custom notification pages. For more information, see Preview Notification Pages.
Display Custom Notification Pages to End Users
- Create custom notification pages for blocked destinations and destinations in internet access rules configured with the Warn action. For more information, see Create Custom Block and Warn Pages.
- Configure one or more Security profiles for internet access to use custom notification pages. For more information, see Add a Security Profile for Internet Access.
- In the default Security profile for internet access, choose to display the block and warn pages when traffic matches internet access rules that use the default profile. For more information about choosing a default Security profile for internet access, see Edit Rule Defaults and Global Settings.
- Configure internet access rules to use the Security profiles, which you have configured to display your custom notification pages. To display a Warn page, choose the Warn action in the rule.
- Deploy required certificates. For more information, see Certificates for Internet Decryption.
If user devices do not have the necessary certificate, users will see the standard browser error when they try to access a blocked destination.
About Warn Pages for Internet Access Traffic
Secure Access displays a Warn page for destinations where the organization has configured internet access rules with the Warn action. The Display user input field in warning messages global setting on the Access policy determines whether a user clicks a link on the Warn notification or enters a key word before accessing the destination. For more information about the Display user input field in warning messages global settings, see Global Settings for Access Rules.
- The Warn page includes either a link that the user must click to continue to the destination, or if configured a user input field.
- When a user gets access to a destination, the destination is available for one hour. After one hour, Secure Access displays the Warn page again and the user must click on the link or enter Continue to access the requested destination.
Warn Page: Click Link and Continue to Destination
If an administrator has not enabled the Display user input field in warning messages global setting on the Access policy, Secure Access requires that the user click a link in the Warn notification page, and then access the requested destination.
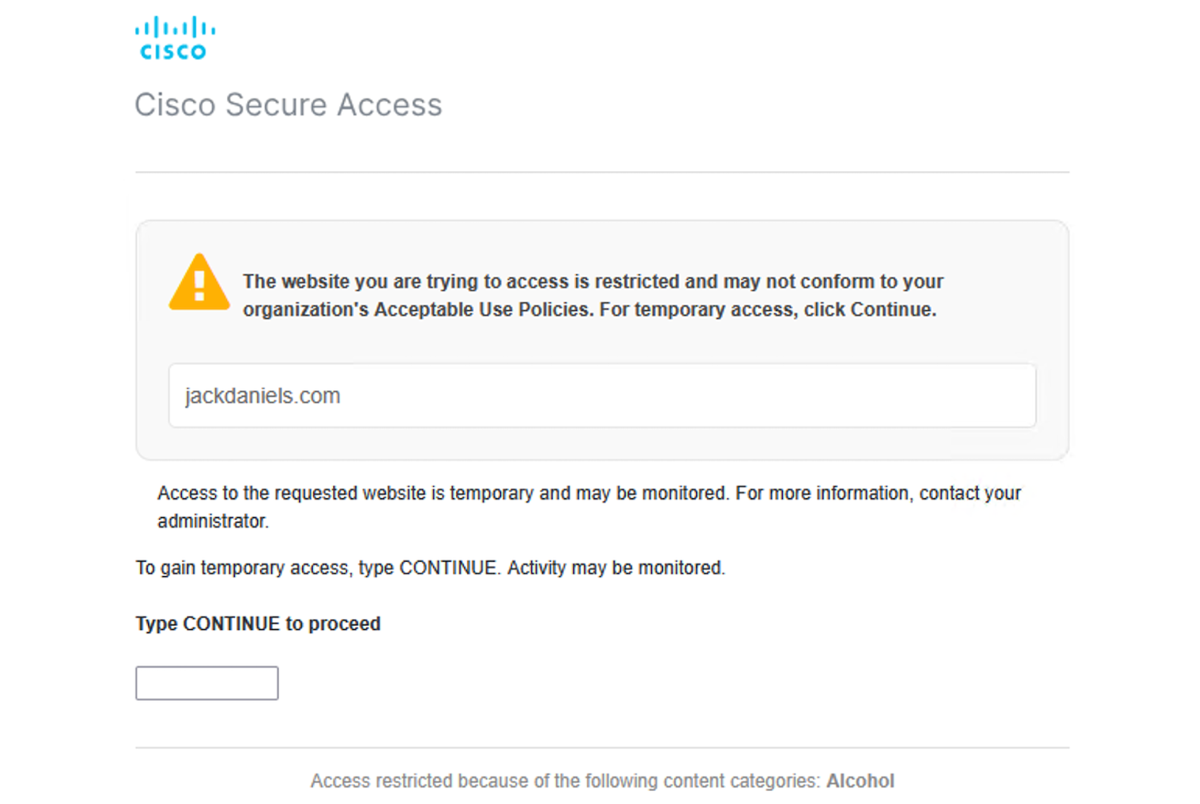
Warn Page: Enter Key Word and Continue to Destination
If an administrator has enabled the Display user input field in warning messages global setting on the Access policy, the user input field appears on the Warn notification page.
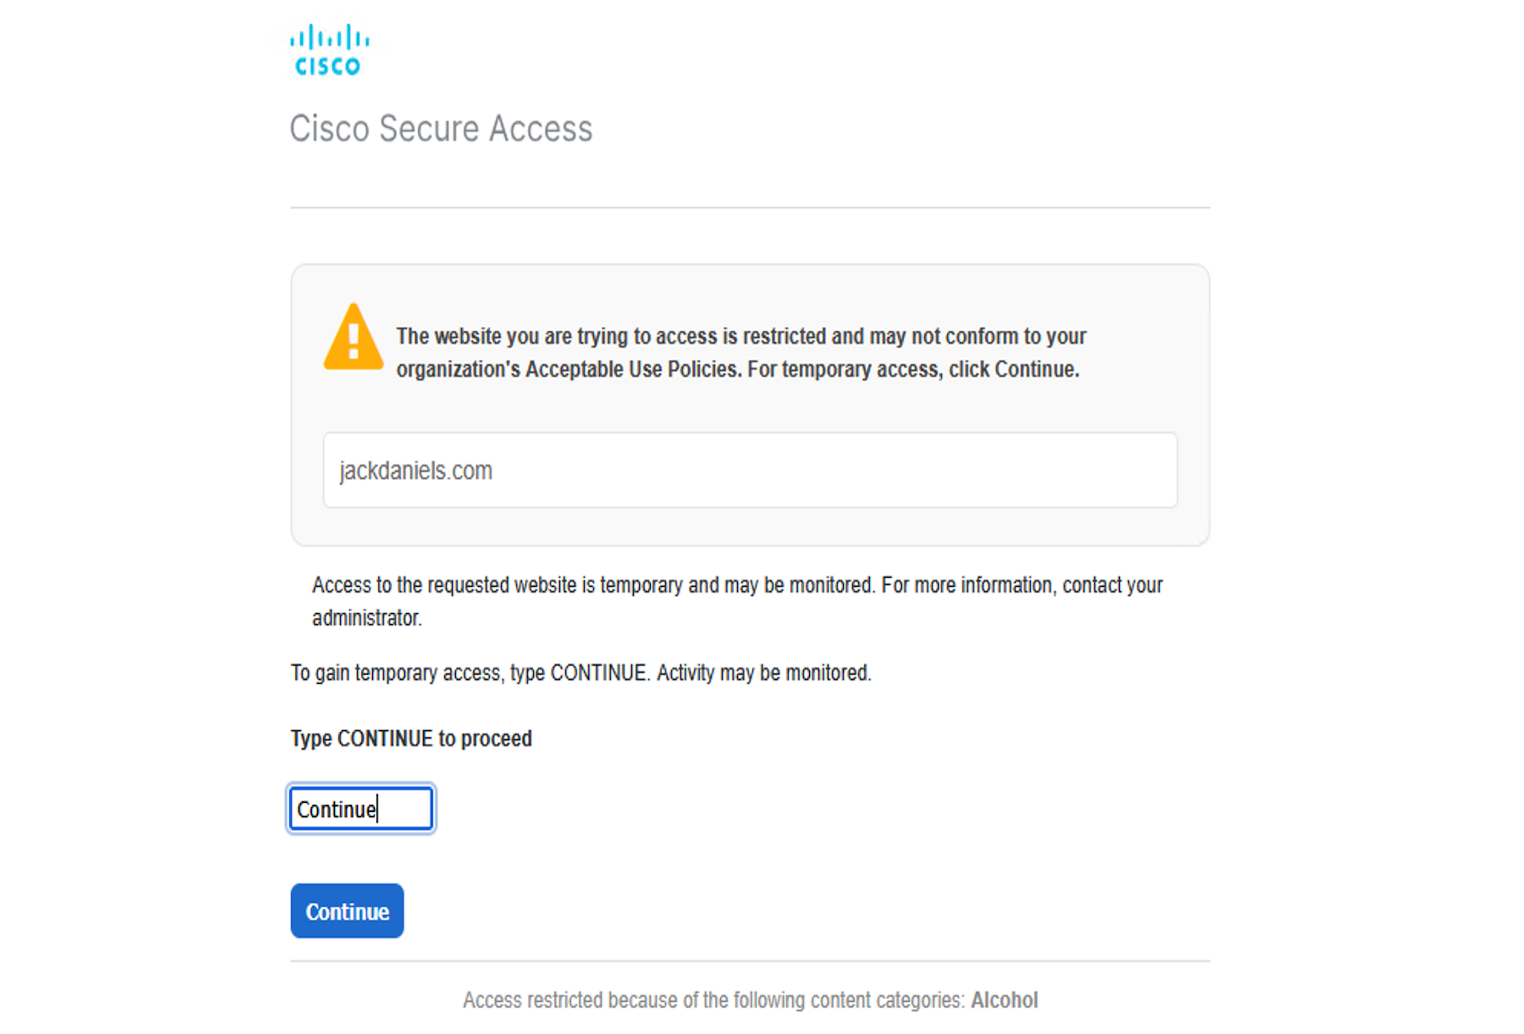
When Secure Access displays the Warn notification page, the user must enter the key word Continue to activate the Continue button.
- Enter Continue.
Note: The value of the user input field is a case-insensitive string.
- Click the Continue button to reach the internet destination.
Review File Type Controls Through Reports < Manage Notification Pages > Preview Notification Pages
Updated 4 days ago