Cloud Malware Report
View malicious files detected in your environment and details of the potential risk the files present. For setup instructions on the report, see Enable Cloud Malware Protection.
Table of Contents
Prerequisites
- A minimum user role of Read-only. For more information, see Manage Accounts.
View the Cloud Malware Report
- Navigate to Monitor > Reports > Cloud Malware.

- View an overview of malicious files in your organization.
- Total files scanned—The total number of files in the organization scanned for potential malware and a status whether the scan is complete or in progress.
- Platforms—The platforms where malicious files were found.
- Malware found—The total number of files found deemed malicious.
- Users with malware—The number of users in your environment whose files contain malware.
- Filter by platform.

- Filter by exposure.
Filter your malicious files by the type of exposure they pose to the environment.

- Filter by status.
Each file displays a status depending on whether it is newly discovered, a quarantine is in progress or failed, or whether the file was successfully quarantined or deleted.

- View potential unwanted applications (PUAs).

- Sort columns by detection or status.

- Click the gear icon to select which columns to display and organize them.

Use the Cloud Malware Report
Quarantine a Malicious File
On the Box and Office 365 platforms, when a malicious file presents a potential risk and needs remediation, you can quarantine the file to a folder in the platform's integration user's account. Only the integration user for the platform will have access to the files within that folder.
- Click the ellipsis to the right of the file and select Quarantine.

- In the confirmation pop-up window, click Quarantine.

Result: The status will update in the report to Quarantine in Progress. This process can take up to 5 minutes.
Delete a Malicious File
For the Webex Teams platform, when a malicious file presents a potential risk and needs remediation, you can delete the file.
- Click the Action Menu for the file that needs to be quarantined and choose Delete.

- A modal appears to verify if this is the file to be deleted. Click Delete. The report status is updated to Deleted.
Dismiss an Item from the Report
When a reported file is found to not present a risk, you can dismiss the file from the report.
- Click the Action Menu for the file that needs to be removed from the report and choose Dismiss.

- In the pop-up confirmation window. Click OK.
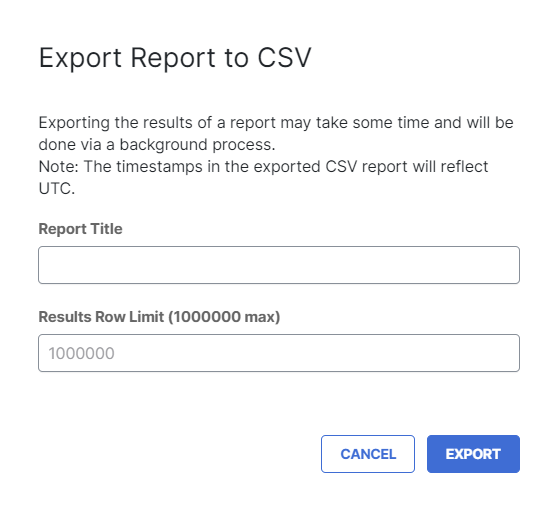
Export the Report
Export the report to a CSV file for your records.
- On the top-right side of the page, lick Download.
- Give your report a title and click Export.
Result: The Exported Reports page displays. In the Download column, click the icon to download the CSV file.
Category Details < Cloud Malware Report > Admin Audit Log Report
Updated 6 months ago