Add Threat Intelligence Feeds
To get started, log into Secure Access and follow the steps in this guide to configure your third-party security platform integration. We recommend that you review the documentation for your security platform or appliance before you start the integration.
Note: Secure Access supports up to 10 custom Threat Intelligence Feeds per organization.
Prerequisites
To enable Threat Intelligence Feeds, check that you have met the following requirements:
- Full Admin user privileges on the Secure Access dashboard.
- A Secure Access package that supports Threat Intelligence. For more information, see Cisco Umbrella and Cisco Secure Access packages.
Additional Prerequisites for Cisco AMP Threat Grid
Secure Access integrates with Cisco AMP Threat Grid through the AMP Threat Grid API.
- Cisco AMP Threat Grid dashboard access
- Cisco AMP Threat Grid account API key
Note: Cisco AMP Threat Grid appliances and endpoint are not supported.
Table of Contents
- Enable Third Party Platform Feeds
- Add a Threat Intelligence Feed
- Add Threat Intelligence Feeds to Internet Access Rule
- Logging and Reports
Enable Third-Party Platform Feeds
You can configure a third-party security event or threat intelligence platform to send domain information to the Threat Intelligence Feed API.
Note: Each security information and event platform or appliance may require a unique set of configuration steps to enable the feed with Secure Access. We recommend that you review the documentation for your third-party platform.
To send security information events to Secure Access, the integrated third-party platform must generate the required domain information for the event and create an HTTP POST request to the Destination Lists API. For more information about the required event and domain information fields, see Secure Access API Destination Lists.
Add a Threat Intelligence Feed
Once you enable the feed, you can use the dashboard or Threat Intelligence Feed API to verify that events reach Secure Access from the third-party platform or security appliance.
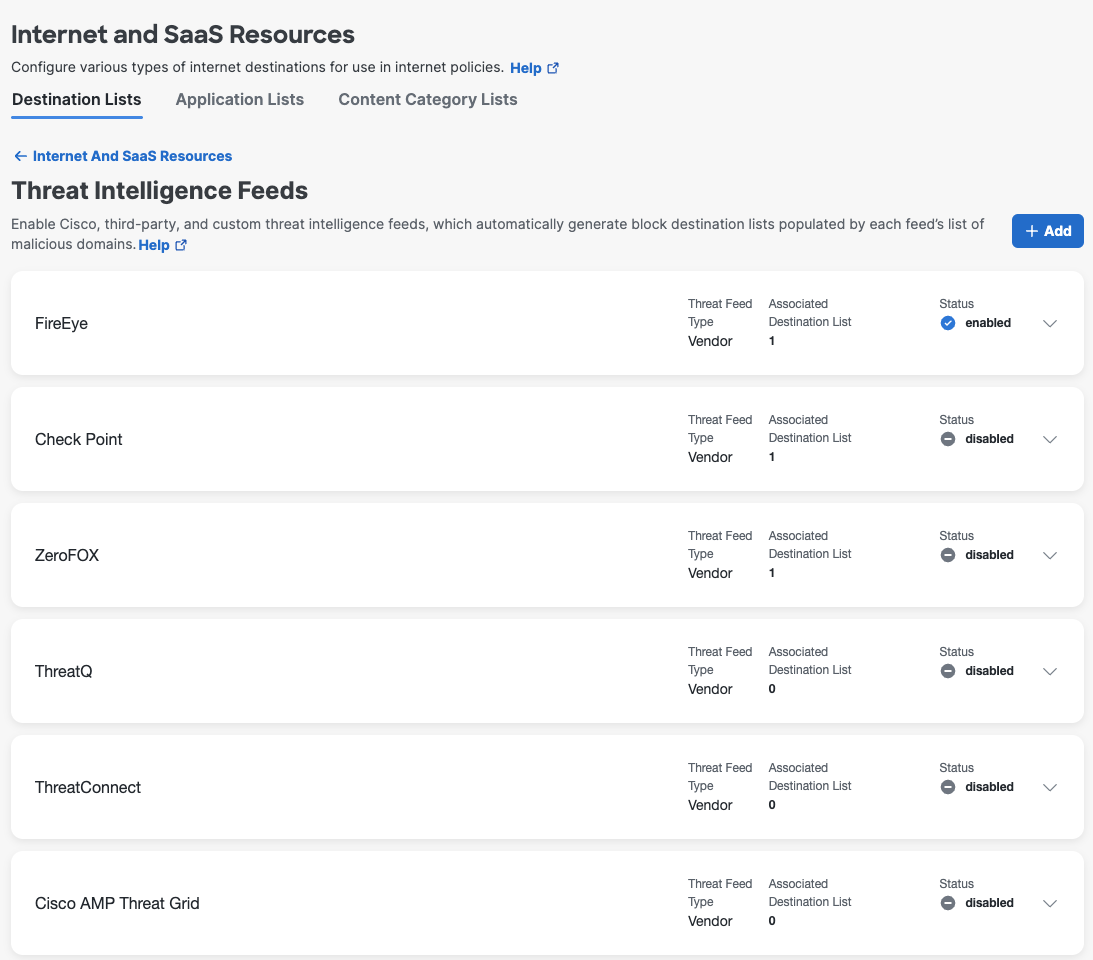
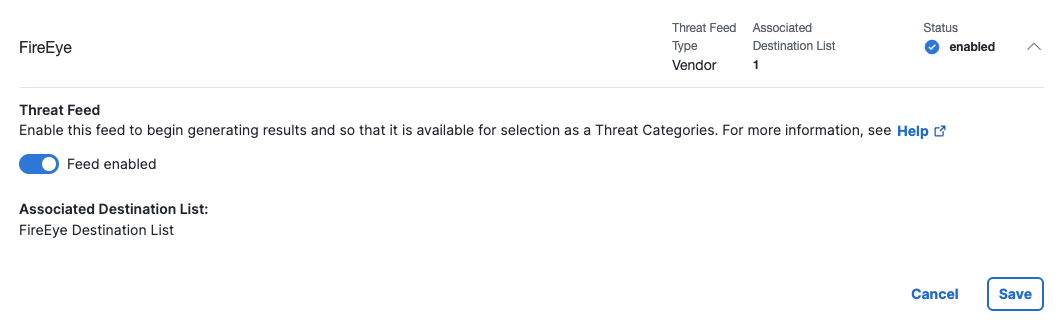
In the dashboard, follow these steps to enable the Threat Intelligence Feeds. The feed contains the custom destination list for the integration. There is only one destination list per feed.
- Navigate to Resources > Internet and SaaS Resources > Destination Lists > Threat Intelligence Feeds.

-
Click on one of the Third-Party threat intelligence vendor feed or + Add to create a custom feed.
-
Select the toggle to enable or disable the feed.
-
View the list of blocked domains in the Destination Lists.
Once you enable the feed the next step is to add the Threat Intelligence Feed to an Internet Access Rule. See Add Threat Intelligence Feeds to Internet Access Rule.
Add Threat Intelligence Feeds to Internet Access Rule
To begin blocking DNS requests for domains found in your custom destination list, add the Threat Intelligence Feeds to a Threat Category list, include the category list in a Security Profile, and then add to an Internet Access Rule. For information about Threat Categories, see Manage Threat Categories.
Add Threat Intelligence Feeds to a Threat Category List
- Navigate to Secure > Settings > Threat Categories and expand the list of Threat Categories.
- Scroll to Threat Intelligence Feeds and select a one of the feeds.
- Click Save.
Add Threat Categories List to a Security Profile
- Navigate to Secure > Profiles > Security Profiles.
- Click Add Profile > Internet Access.
- Click Edit next to Threat Categories.
- In the drop down list select one of the Threat Intelligence Feeds. Click Save.
Add the Security Profile to an Internet Access Rule
- Add a Security Profile to an Internet Access rule. For more information on how to add an Internet Access Rule, see Add an Internet Access Rule. For information on how to Add a Security Profile to an Internet Access rule, see Security Profile.
List the Blocked Domains
The Threat Intelligence Feed API provides an endpoint to list the destinations in the custom destination list. For more information, see Destination Lists API Endpoints.
In the dashboard, you can see the list of blocked domains by navigating to Resources > Internet and SaaS Resources > Destination Lists and click on one of the destination lists to expand.
Logging and Reports
If you enabled logging for the custom integration, you can view the events in the Activity Search or Activity Volume reports, or access your logs in a Cisco-managed or self-managed Amazon S3 bucket.
View Reports
Generate DNS requests from one of your sources—for example, Networks or Roaming Devices—destined for a domain in your feeds. In the report, you can view the traffic from the request and source if Secure Access blocked or allowed the request depending on how you configured your Threat Intelligence Feeds.
- Navigate to Monitor > Activity Search.
- Locate Filters > Filter by Security Categories. Select your Threat Intelligence Feeds to view the network traffic and requests for your sources.
The Activity Volume report also includes the destination requests and traffic for the Threat Intelligence Feeds.
- Navigate to Monitor > Activity Volume.
- Select View Trend Over Time.
- In the table, expand Security > Integrations.

View Admin Audit Log
The Admin Audit Log Report contains the information about your administrative activities associated with your custom integration. For more information, see Admin Audit Log Report.
View the contents of the Admin Audit Log Report:
-
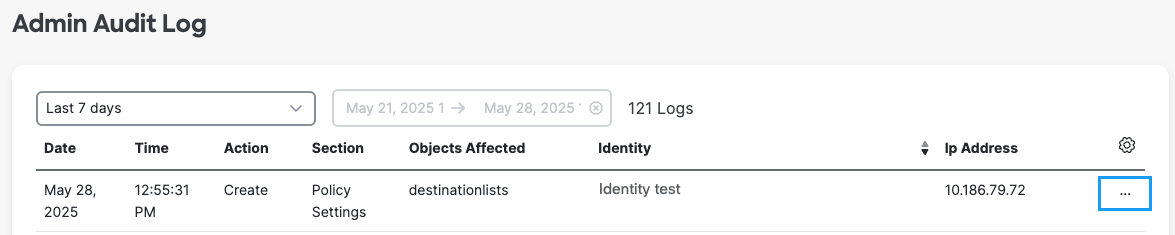
Navigate to Monitor > Management > Admin Audit Log.
-
You can filter each column by selecting the ascending/descending arrows.
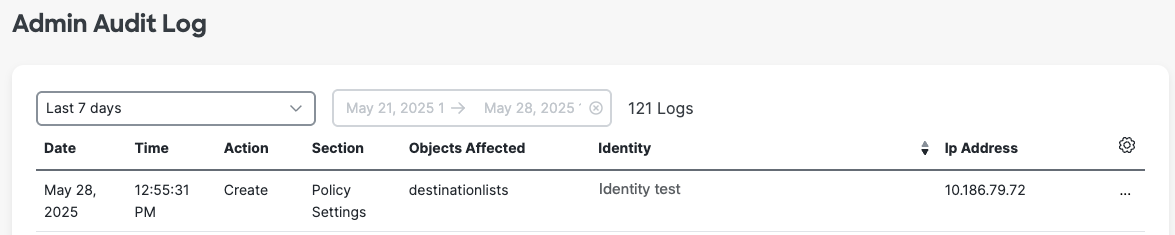
When you expand the entry, you can see the events added to your custom feed.
Access Logs in S3
Secure Access provides access to your logs through Cisco-managed or self-managed Amazon S3 buckets. You can stream your DNS activity events for your custom integration back into your threat intelligence or security event and information environment. For more information about Secure Access logs, see Manage Your Logs.
Threat Intelligence Feeds < Add Threat Intelligence Feeds > Custom Feed Best Practices
Updated 5 months ago